
I Want to Hire a Wallpaper Installer – Where Do I Start?
Want to hire a wallpaper installer? It all starts with prep. You’ve seen the Pinterest boards. You’ve scrolled Instagram. You’ve decided — wallpaper is happening. Maybe it’s a bathroom, a laundry room, an accent wall. Whatever the space, you’re excited, and you should be.
But then the questions start. Do I need to prime? What kind of primer? What about peel-and-stick — isn’t that easier? How do I find someone to install it?
I get these questions every week. I recently visited a homeowner in Rochester Hills who was mid-renovation — sharp guy, great taste, doing beautiful work on his home — and he asked me the same thing most people ask: “Barry, I’ve never done wallpaper before. Where do I even start?”
Here’s the thing about wallpaper — think of it like an iceberg. The wallpaper itself is the part above the water. That’s what everyone sees. But underneath is everything else: the drywall condition, the primer, the surface prep, old paint, old paste, old damage. That’s where the real work lives, and that’s where projects go sideways when corners get cut.
This guide starts from the bottom up — with the wall itself. Get the prep right and the rest falls into place. Skip the prep and even the most highly rated wallpaper hanger can’t save you.
Step 1: What Every Wallpaper Installer Wants You to Know
Before you pick out a pattern, look at what’s underneath. Wallpaper doesn’t hide problems — it highlights them. Every bump, crack, and imperfection in your drywall will telegraph right through the paper.
Run your hand along the wall. Look at it from an angle with a flashlight. You’re looking for:
- Nail pops or screw dimples that weren’t properly mudded
- Cracks along seams or corners
- Rough or uneven texture
- Water damage or staining
- Old wallpaper adhesive residue
- Holes, dents, or torn drywall paper
The wall needs to be smooth, clean, and properly sealed. If you’re working with new drywall, make sure it’s finished to at least a Level 4 — all joints taped, mudded, and sanded smooth. If there are imperfections, fix them now. Not after the paper goes up. For more detail, see our guide on Prepping & Priming Your Walls.
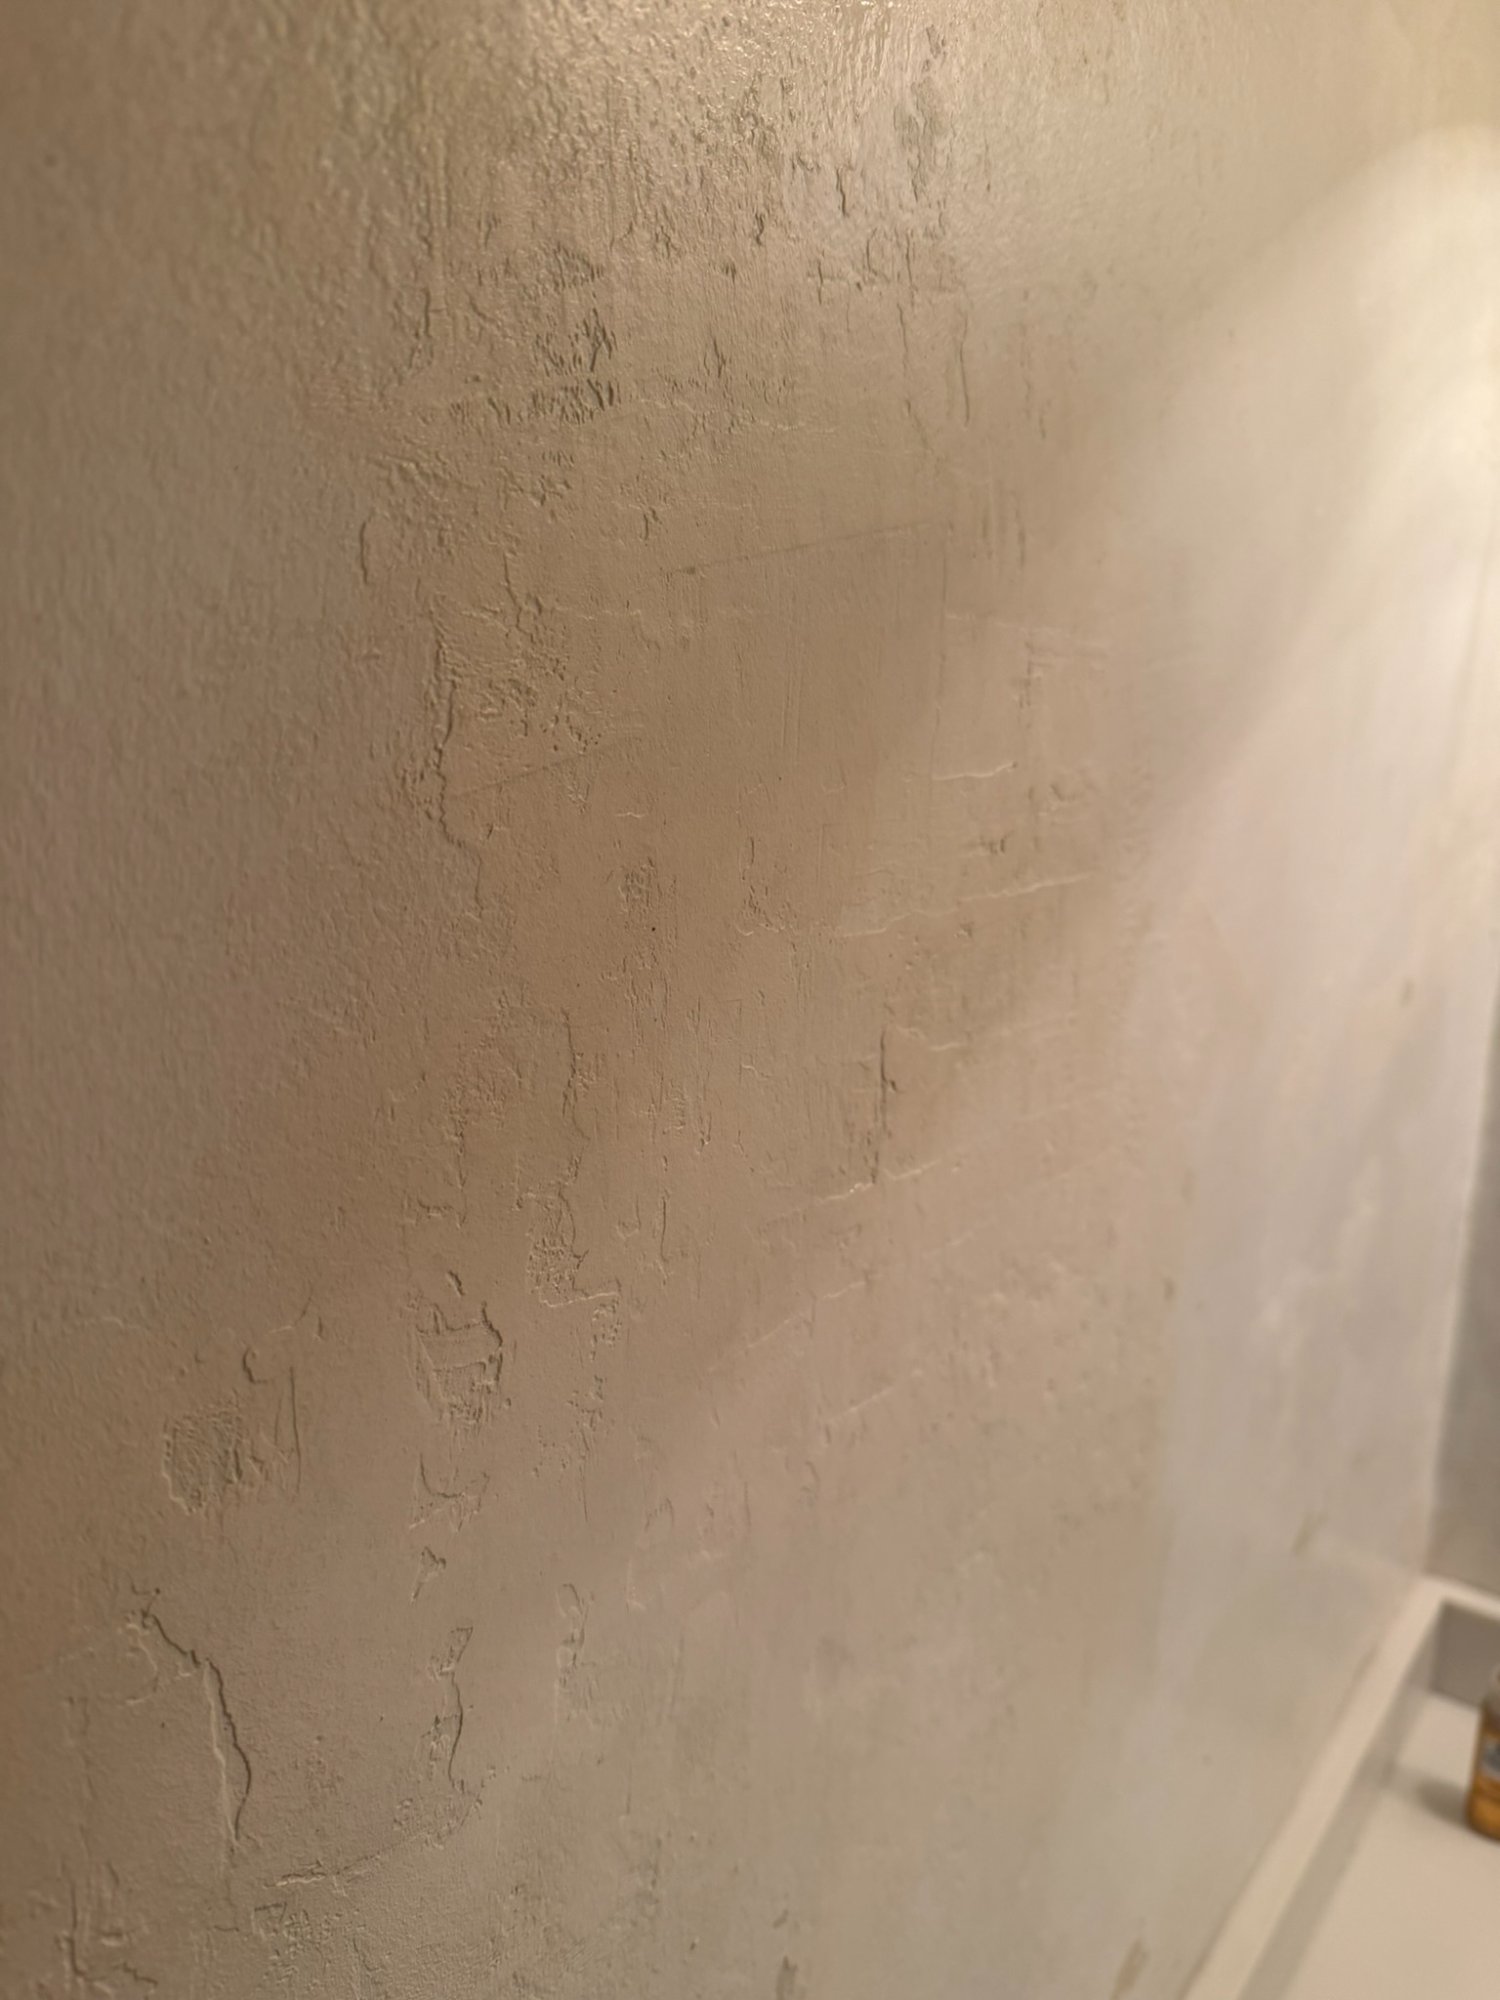
Watch for Paint Over Old Paste
If you see a cracked, dried-lakebed pattern on your wall surface, that’s a sign someone painted over old wallpaper paste. The wet paint reactivated the paste underneath. The paint surface dried first, but the paste kept expanding beneath it, cracking the entire surface apart.
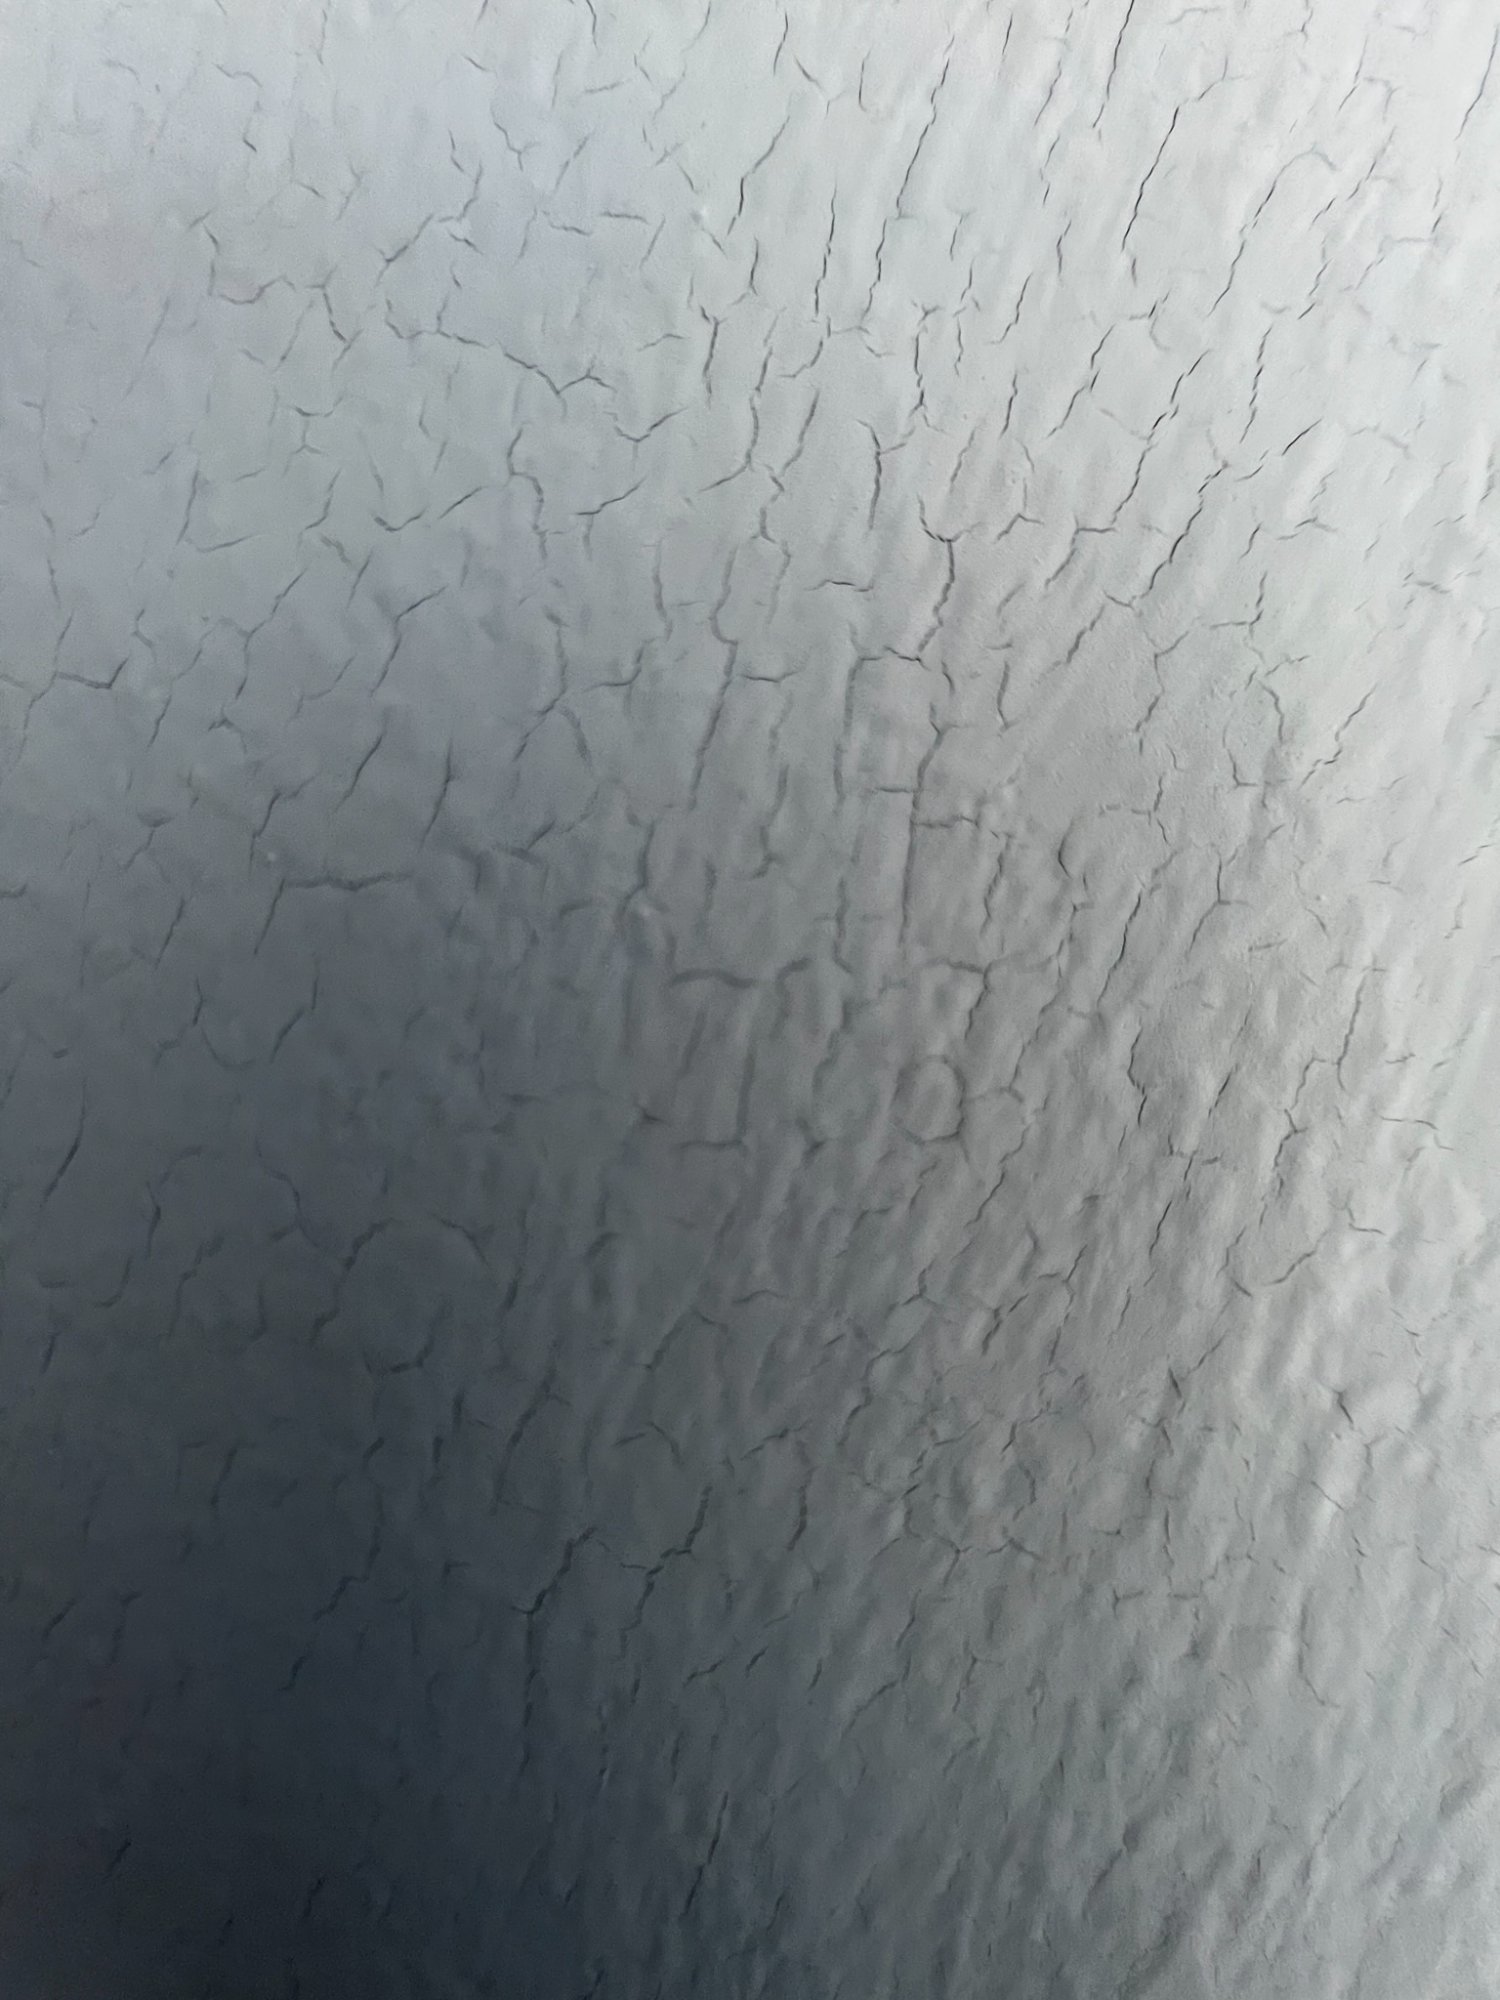
If you see this, that surface needs to be scraped, cleaned, sealed, and primed before any new wallpaper goes up.
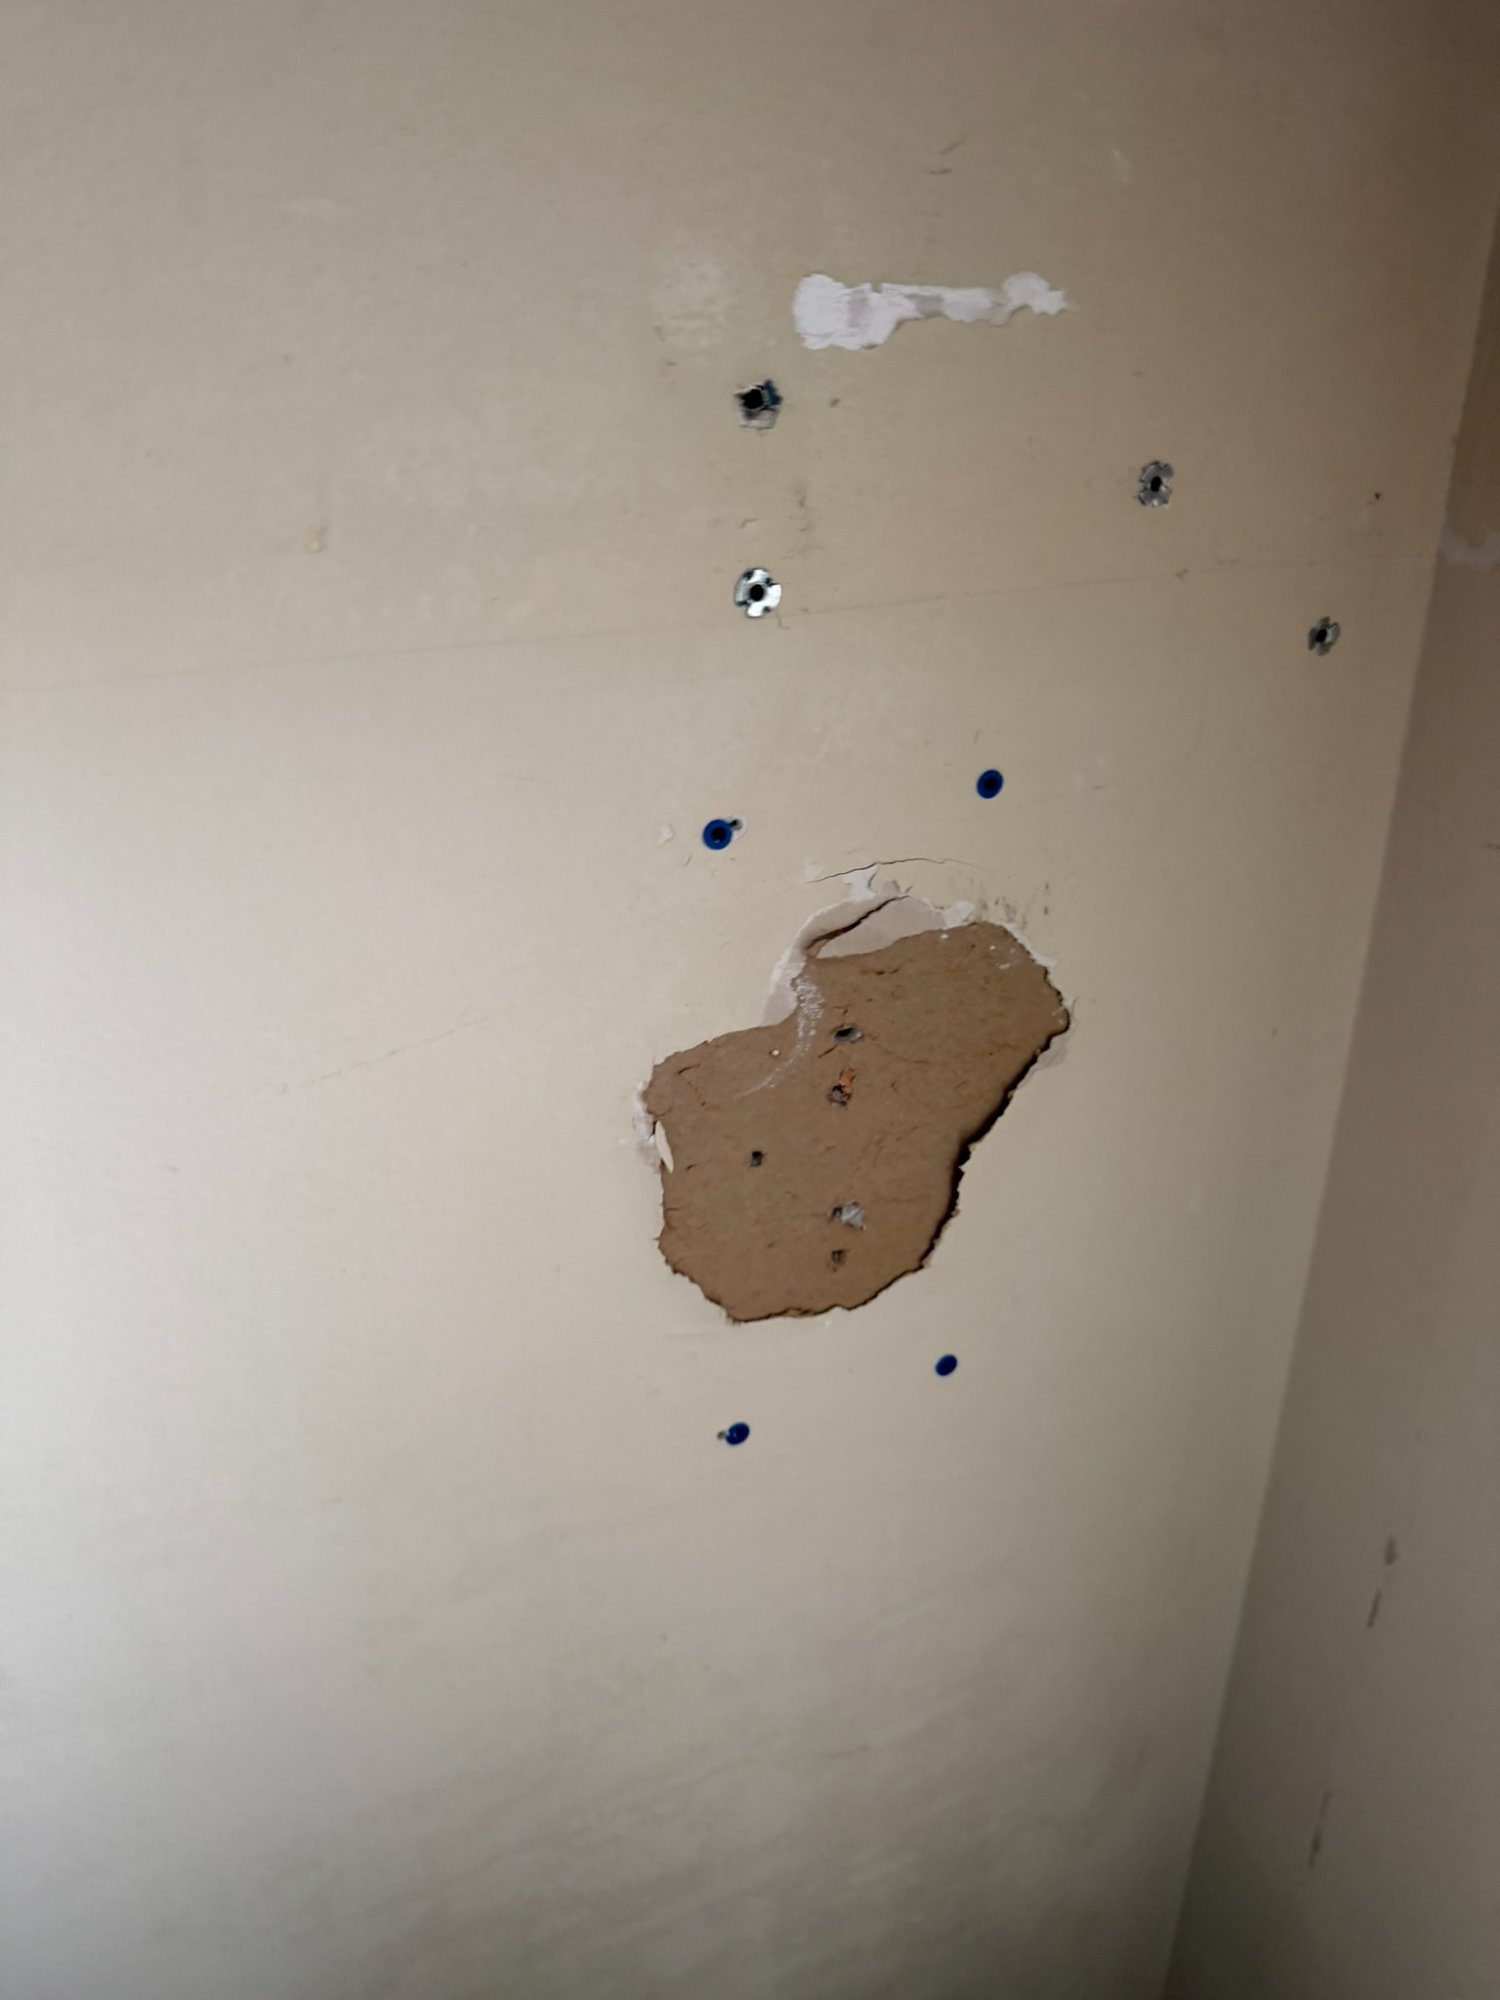
Step 2: Dealing With Damaged Drywall
If you’ve got damaged drywall — torn paper face, gouges, or areas where old wallpaper removal tore into the surface — you need to seal it before you do anything else. This is where a product called GARDZ (G-A-R-D-Z) by Zinsser becomes your best friend.
GARDZ is a clear, penetrating sealer that soaks into damaged drywall and creates a hard, sandable surface. It locks down torn paper fibers so they don’t bubble up when you apply joint compound or wallpaper paste.
The wallpaper prep process:
- Apply GARDZ to any damaged areas and let it dry completely
- Once dry, apply joint compound (mud) over the sealed area
- Sand smooth
- Prime with your wallpaper primer
Without GARDZ, the mud will bubble over the damaged paper. Small step, big difference.
Case Study: The Bathtub Wall
This is a job I documented step by step. The wall behind this freestanding tub was destroyed — torn drywall paper, exposed brown surface, a mess.
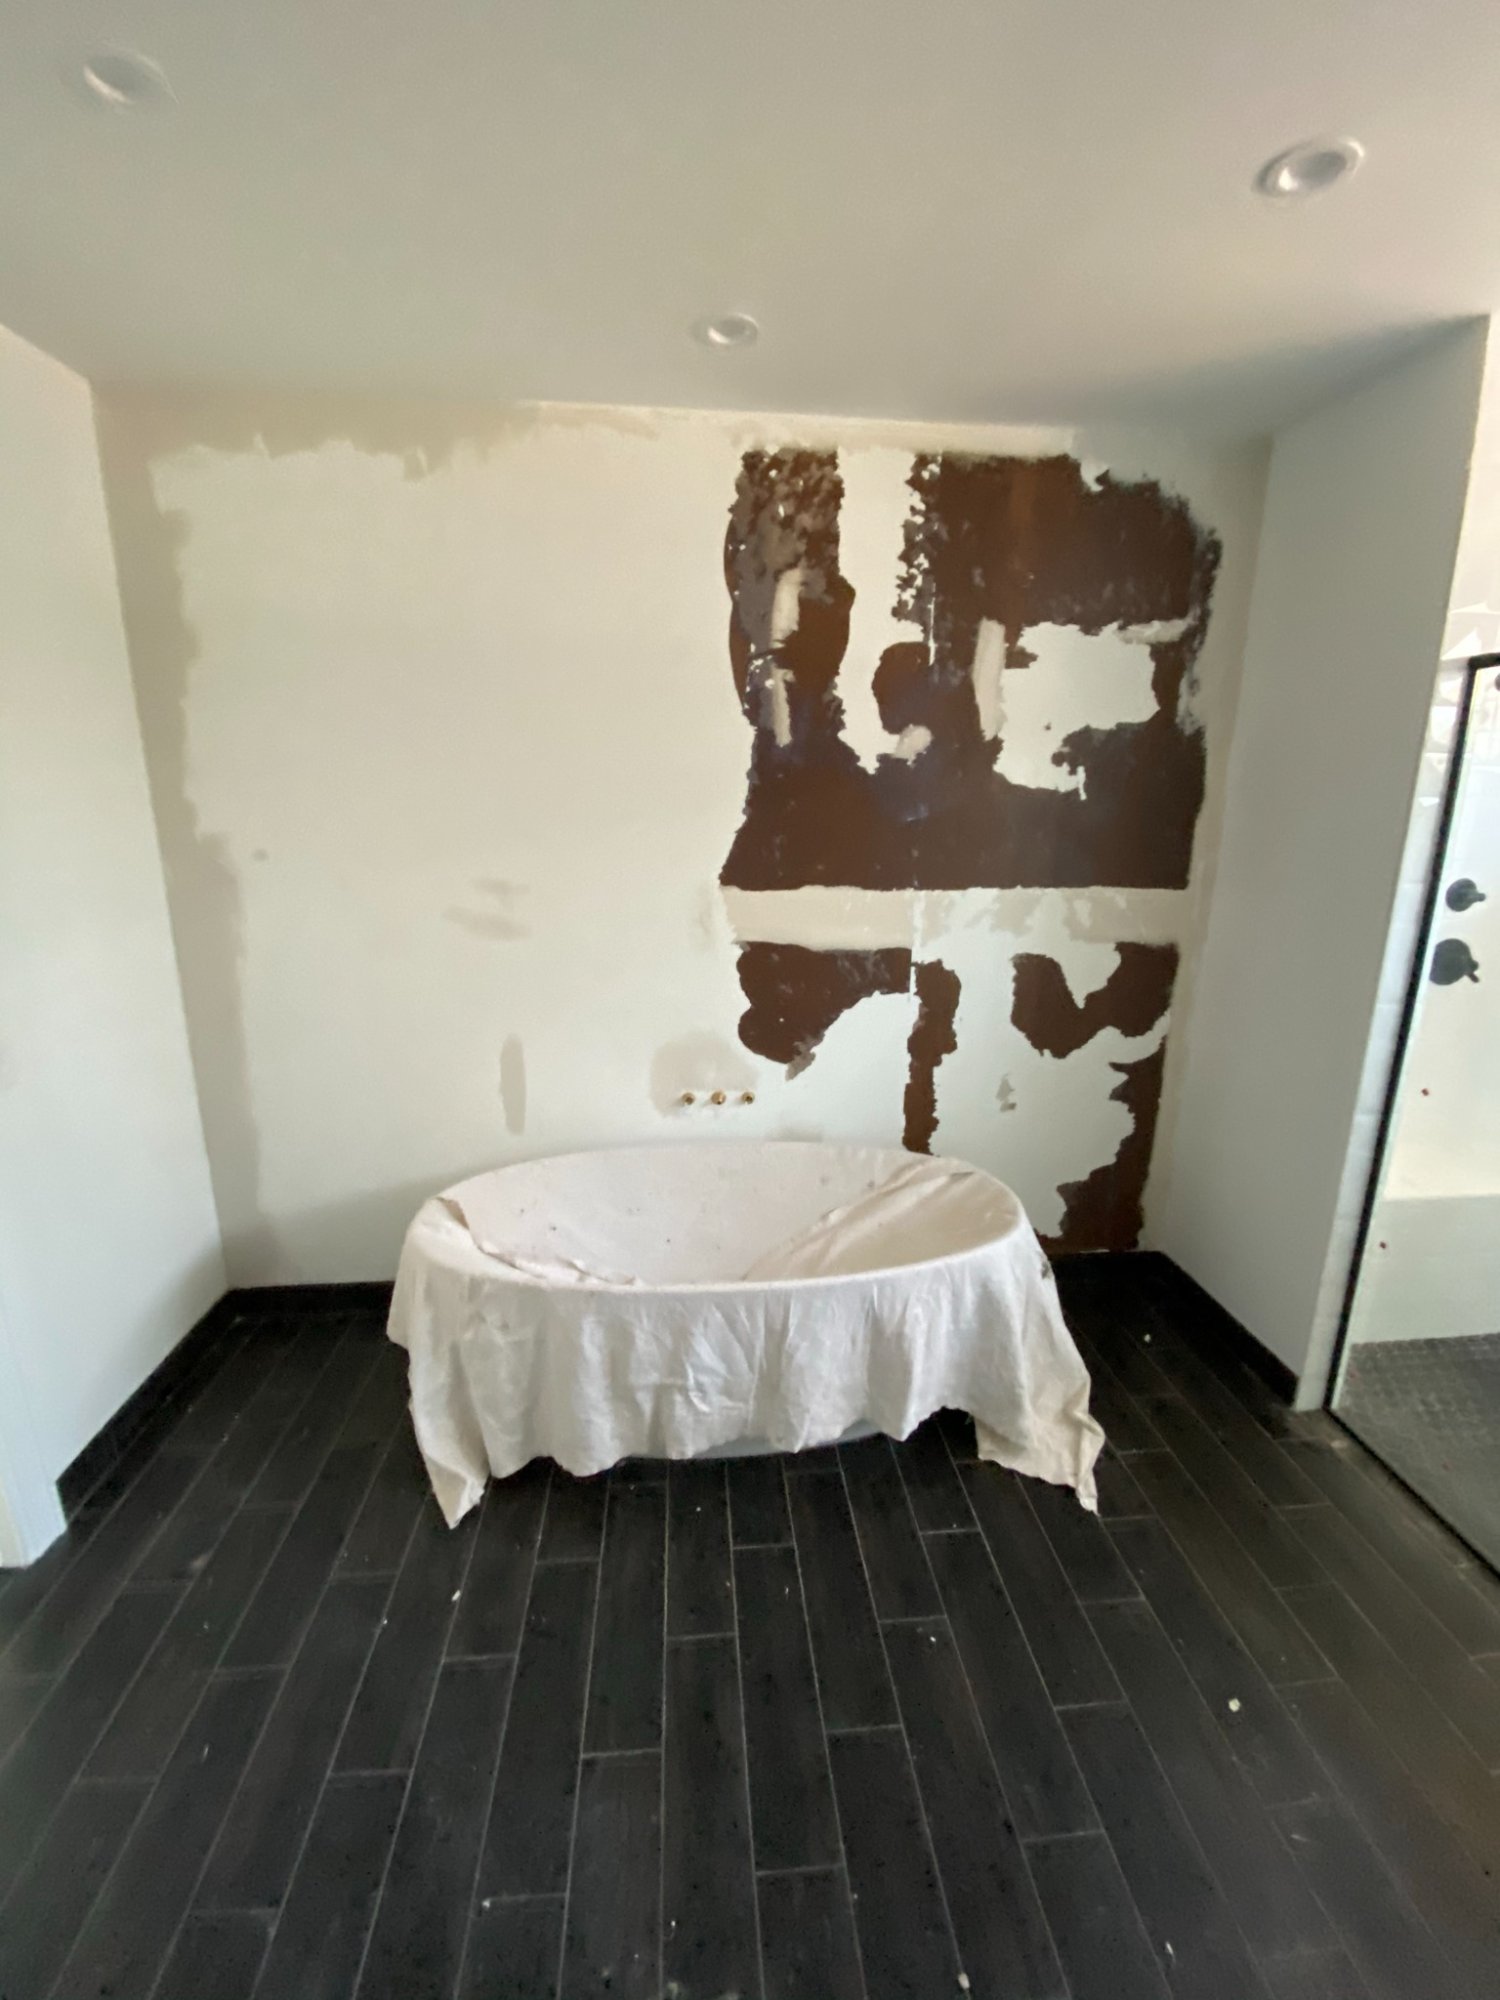
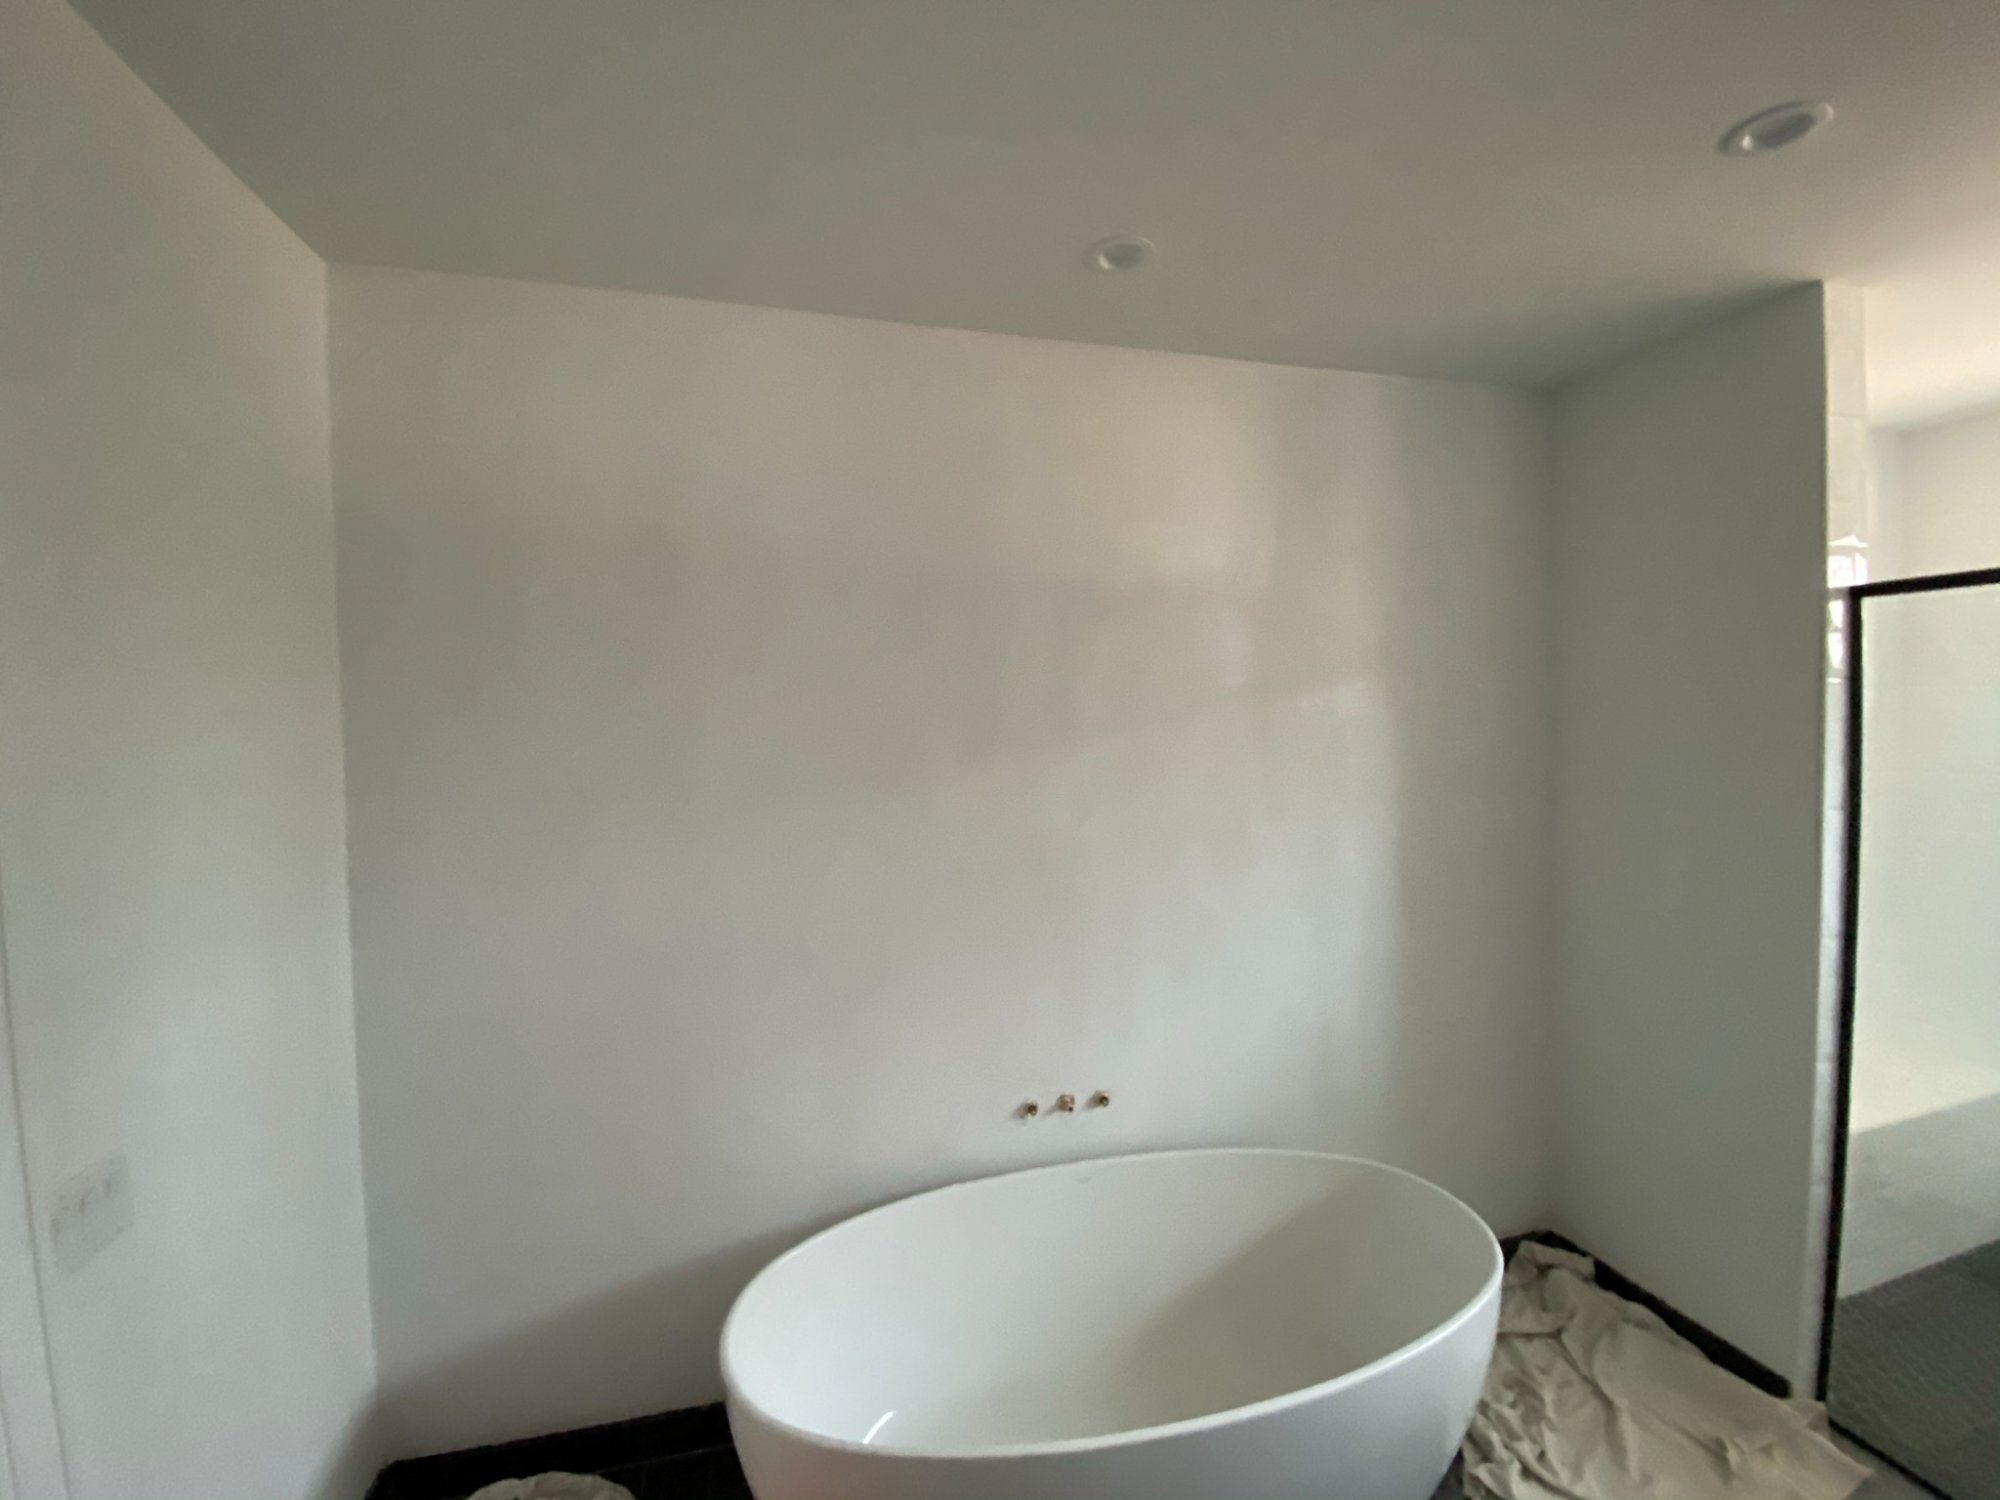
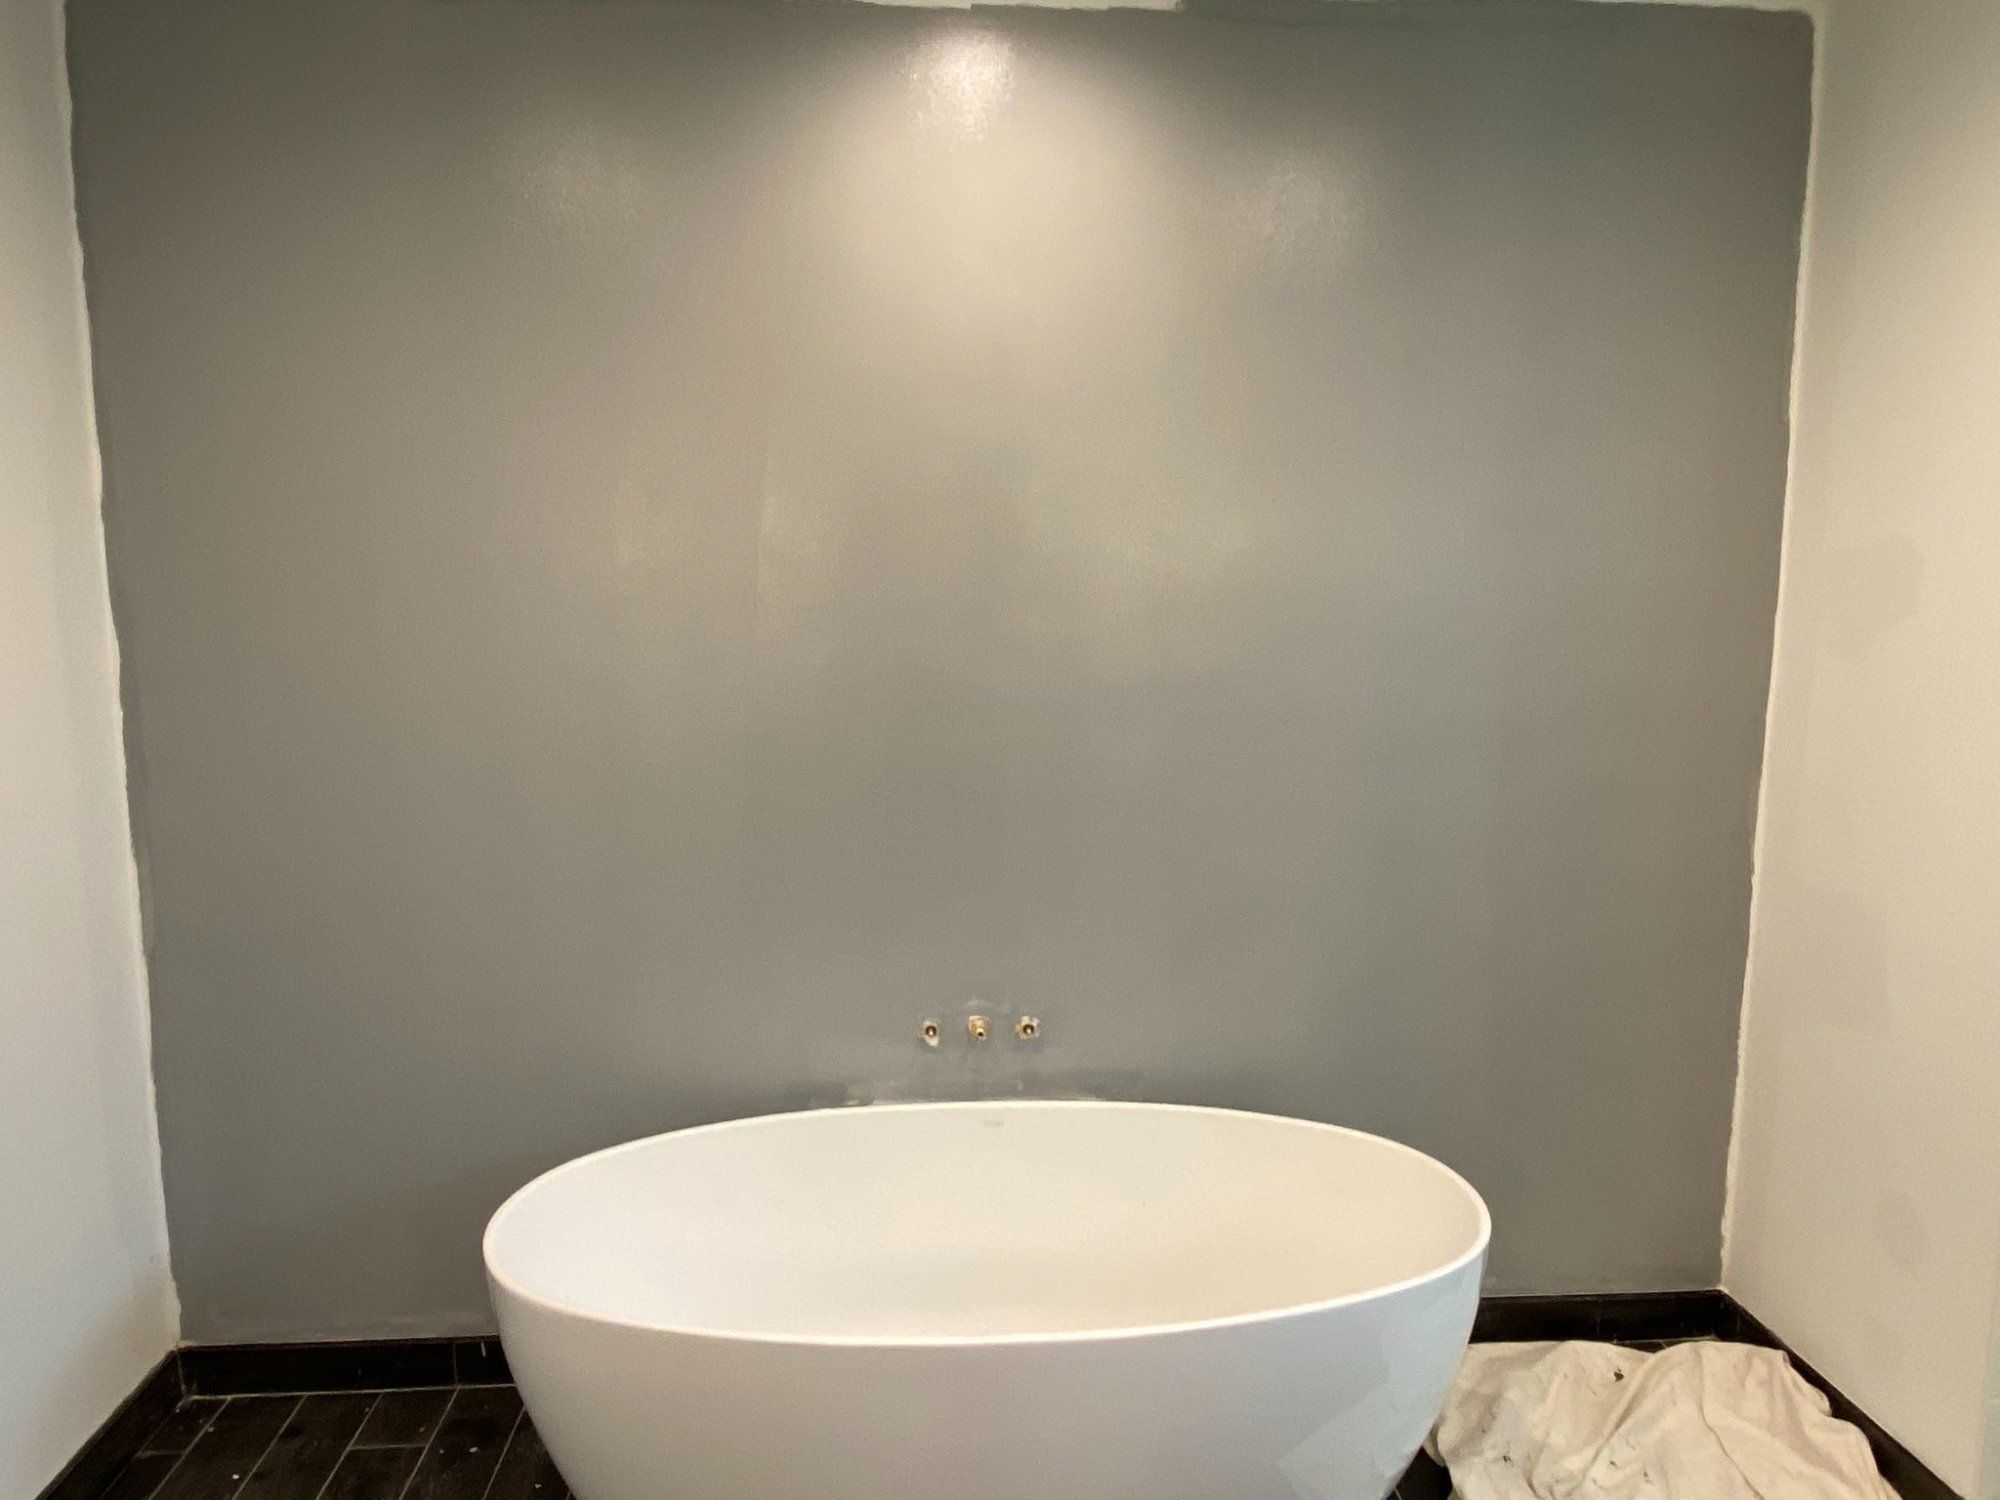
Same wall, four steps apart. That is not luck. That is prep.
Don’t Forget: Wipe the Dust
After sanding, wipe the dust off the walls before priming. Drywall dust creates a barrier between the primer and the wall surface. A damp rag or tack cloth is all you need. Five minutes of wiping can be the difference between a primer that bonds and one that doesn’t.
Step 3: The Right Primer for Wallpaper Prep
Primer is not optional. It’s the foundation of the entire job. The right primer creates a sealed, uniform surface that allows wallpaper adhesive to bond correctly — and just as important, it allows the wallpaper to be removed cleanly down the road without destroying your drywall.
You want a high-adhesion, latex or acrylic-based primer. Products I commonly use and recommend:

Sherwin-Williams Multi-Purpose Primer
Versatile latex sealer and stain blocker. Great adhesion, reliable. My go-to for most jobs.
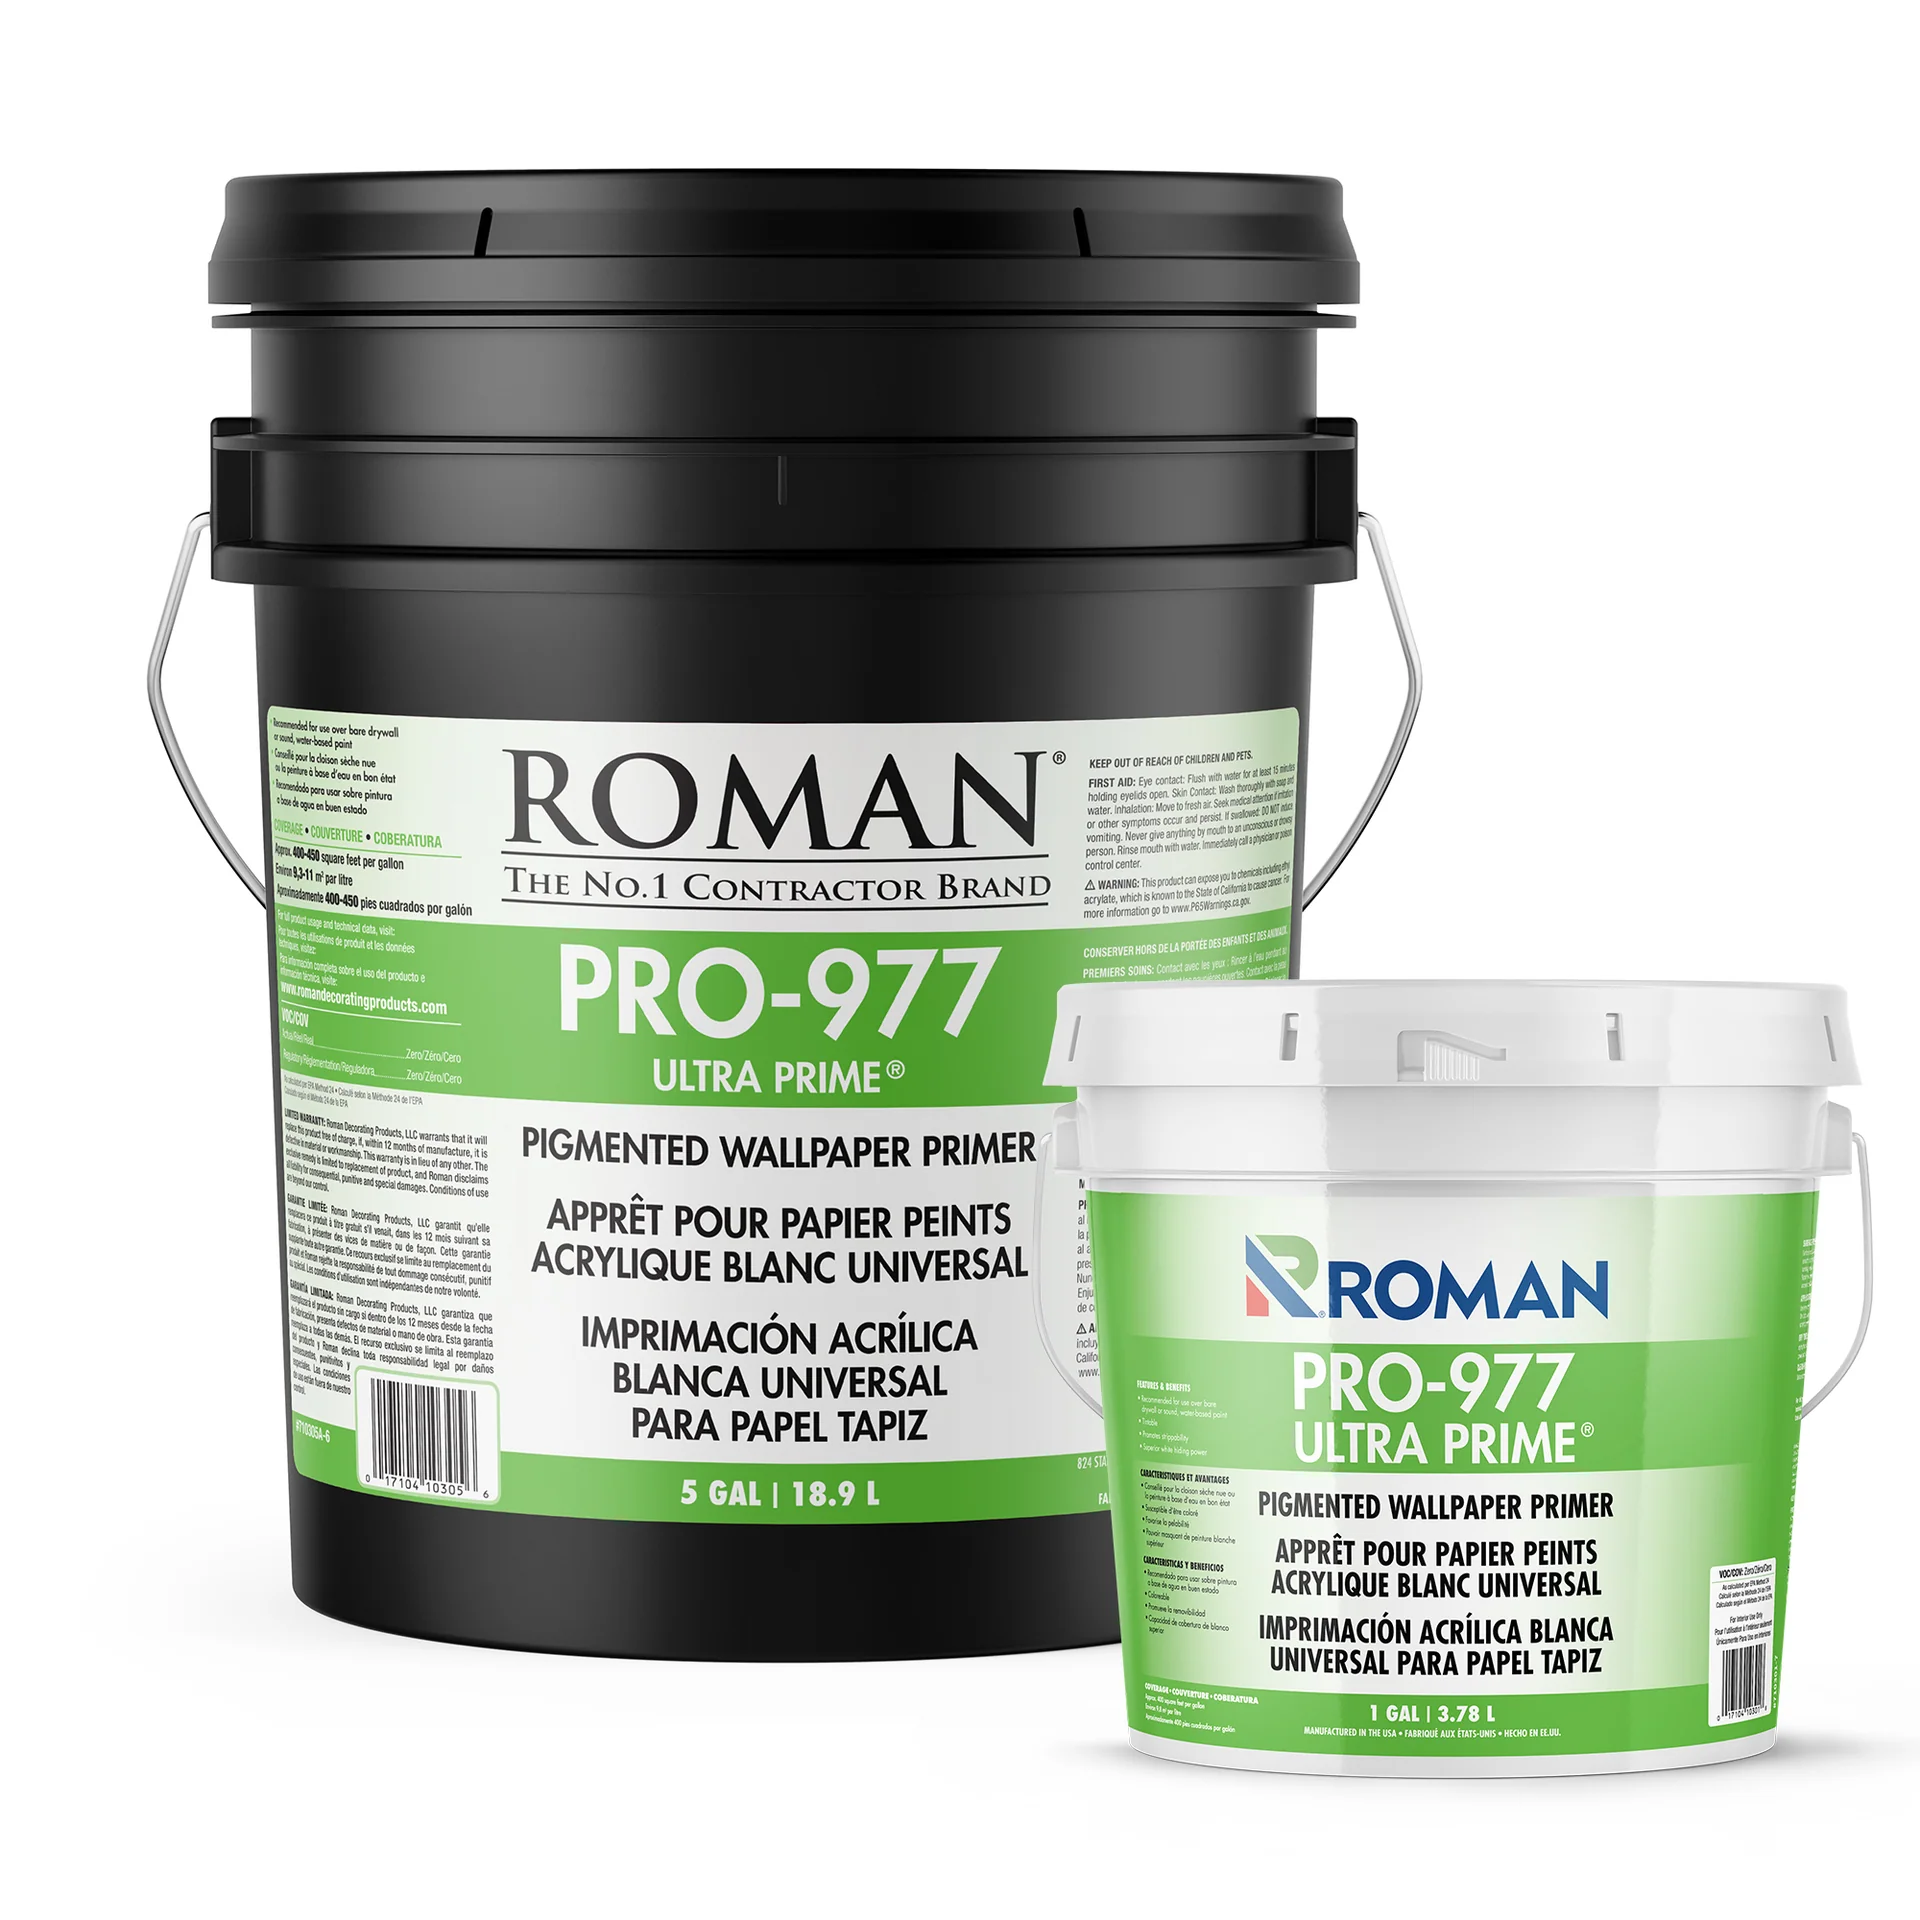
Roman PRO-977 Ultra Prime
Pigmented wallpaper primer designed specifically for wallcovering prep. The #1 contractor brand.
Other solid options include Sherwin-Williams ProBlock Premium Primer and Zinsser Shieldz. Always check the wallpaper manufacturer’s installation instructions — some papers have specific primer requirements.
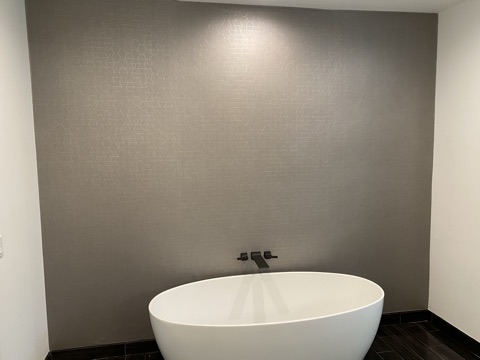
Tint Your Primer
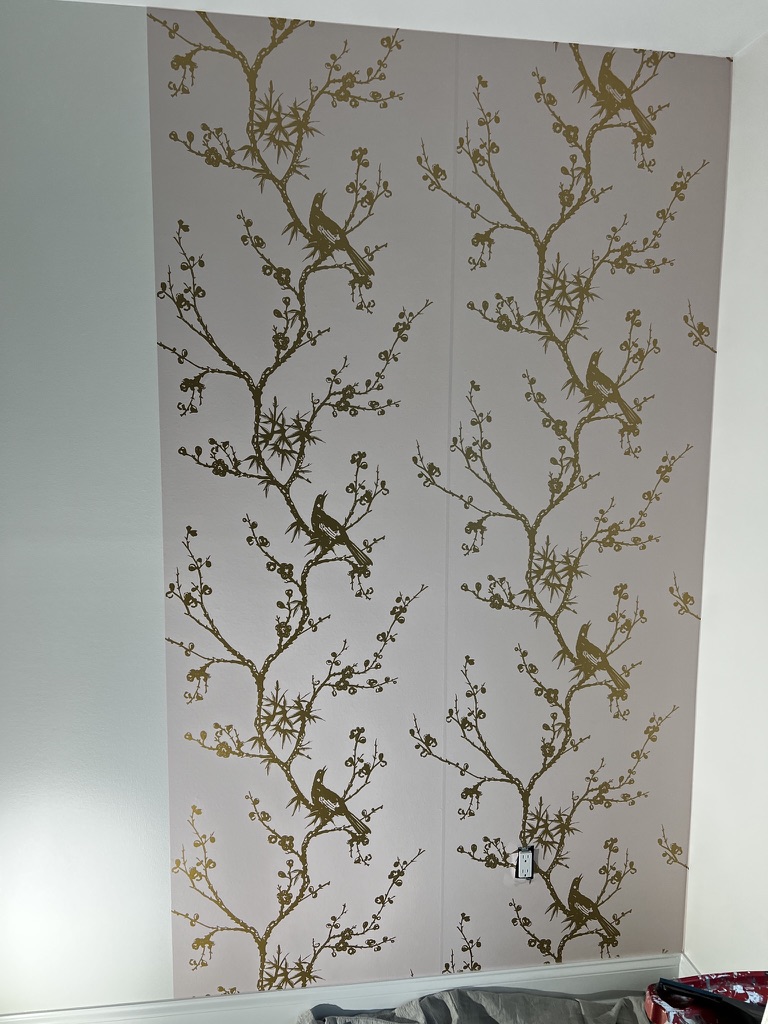
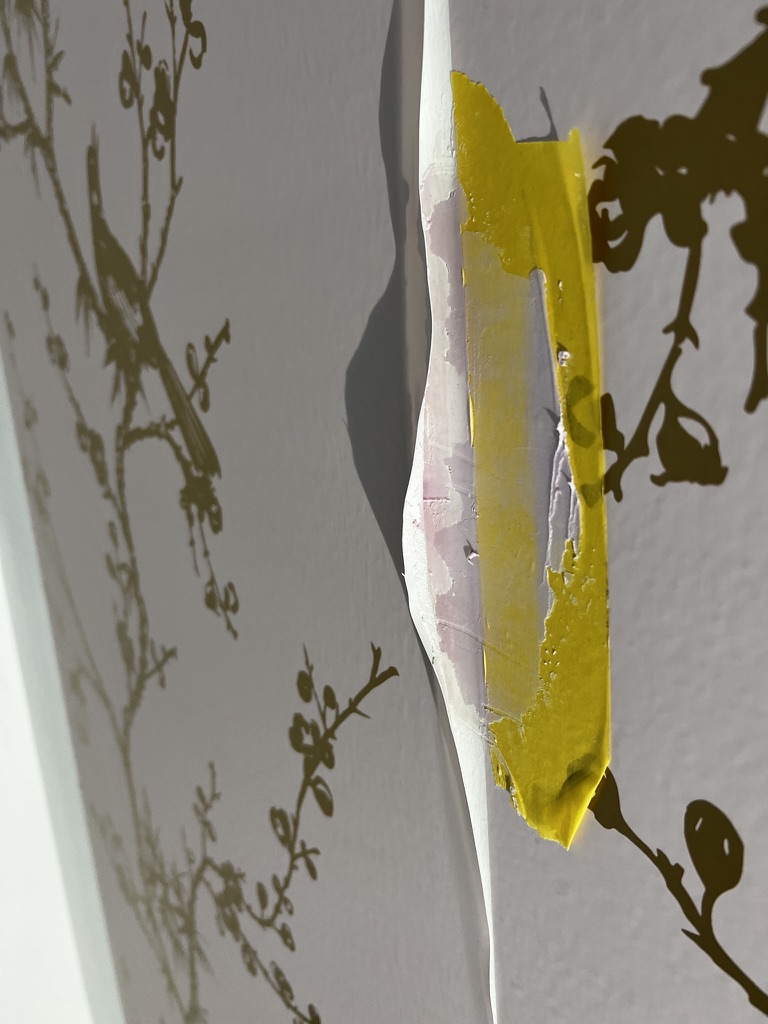
Here’s something most people don’t know: tint your primer to match the background color of your wallpaper. If your wallpaper has a dark background, tint the primer dark. If it’s light gray, tint it gray. If it’s close to white, standard white primer is fine.
Why? Walls move throughout the seasons. With that movement, a hairline seam could show — and if there’s contrast between the wallpaper and the wall underneath, it’s going to be visible. Dark wallpaper, white wall — that seam pops. A tinted primer eliminates that contrast and makes seams virtually invisible.
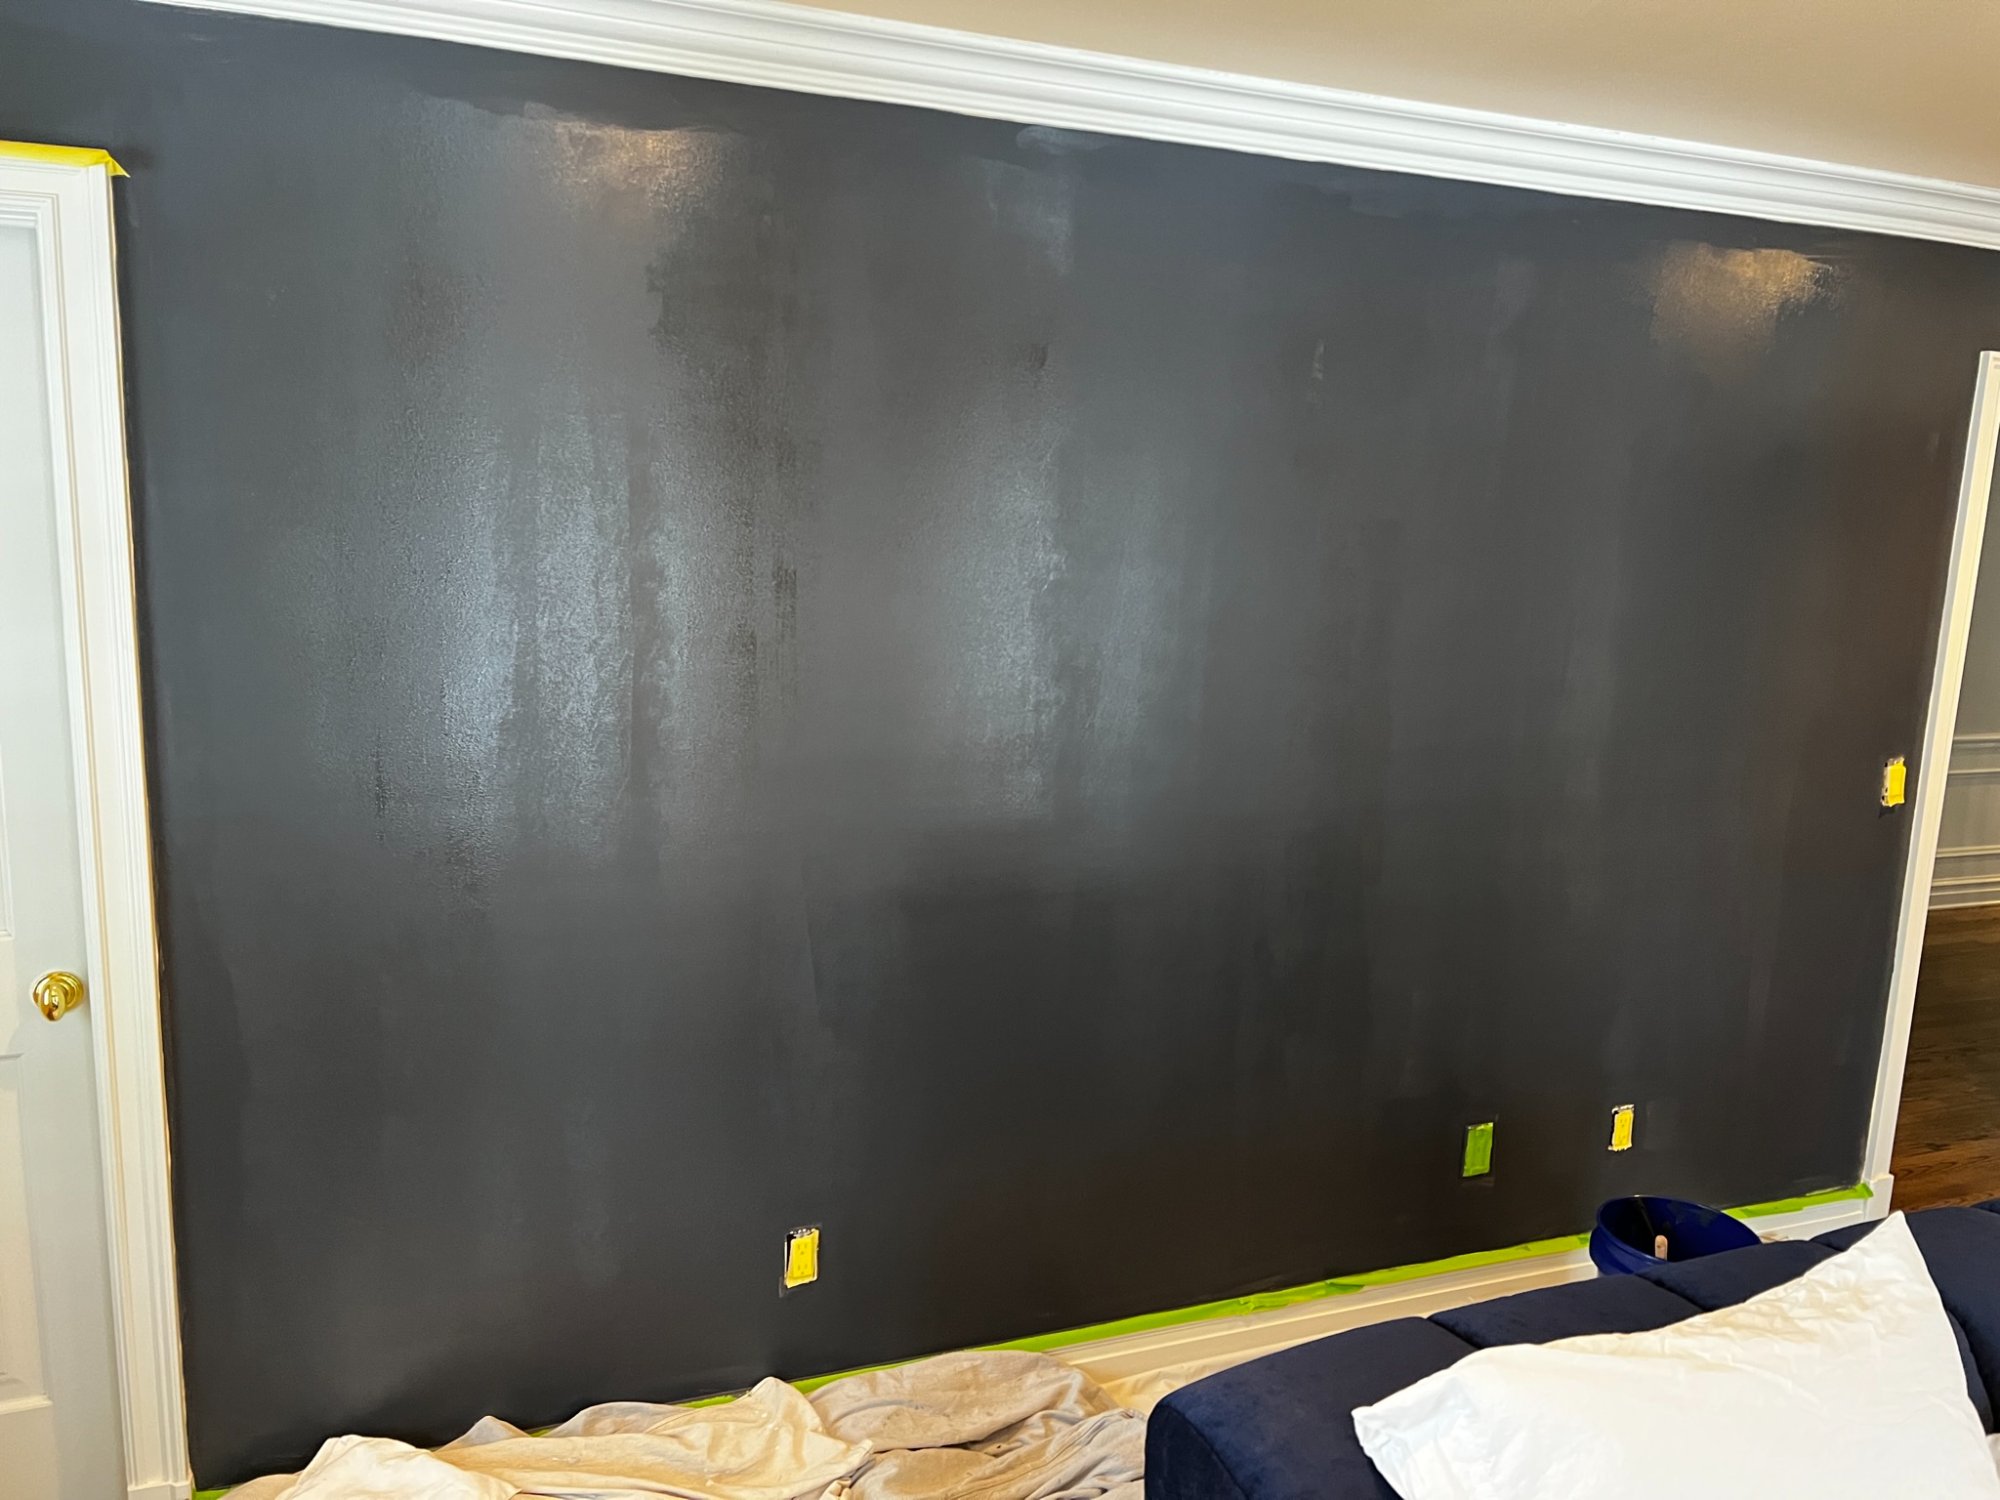
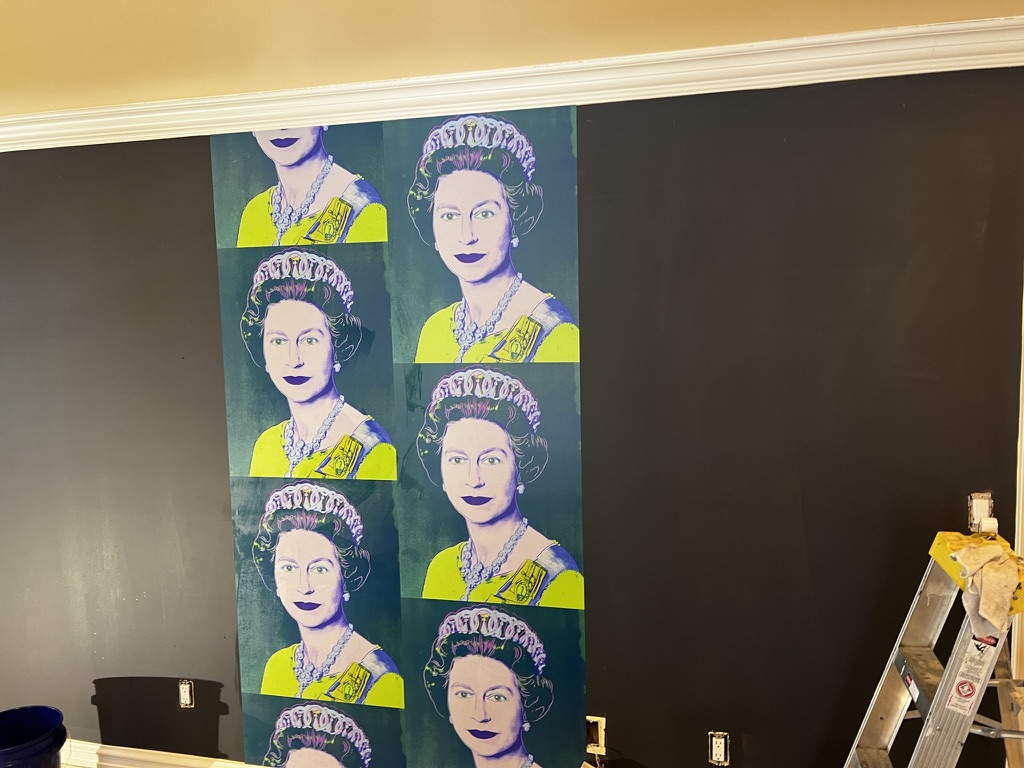

See how the dark primer disappears behind that pattern? That is not luck. That is prep.
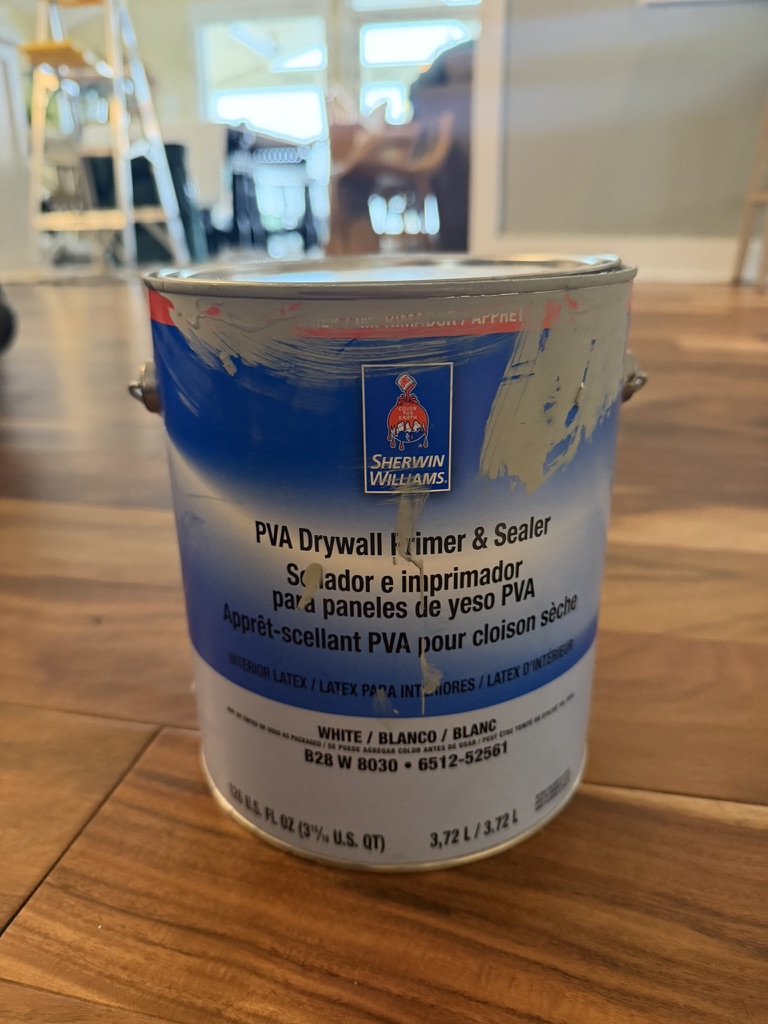
What NOT to Use — The PVA Mistake
PVA drywall primer has its place — and that place is raw, unpainted drywall. That’s it.
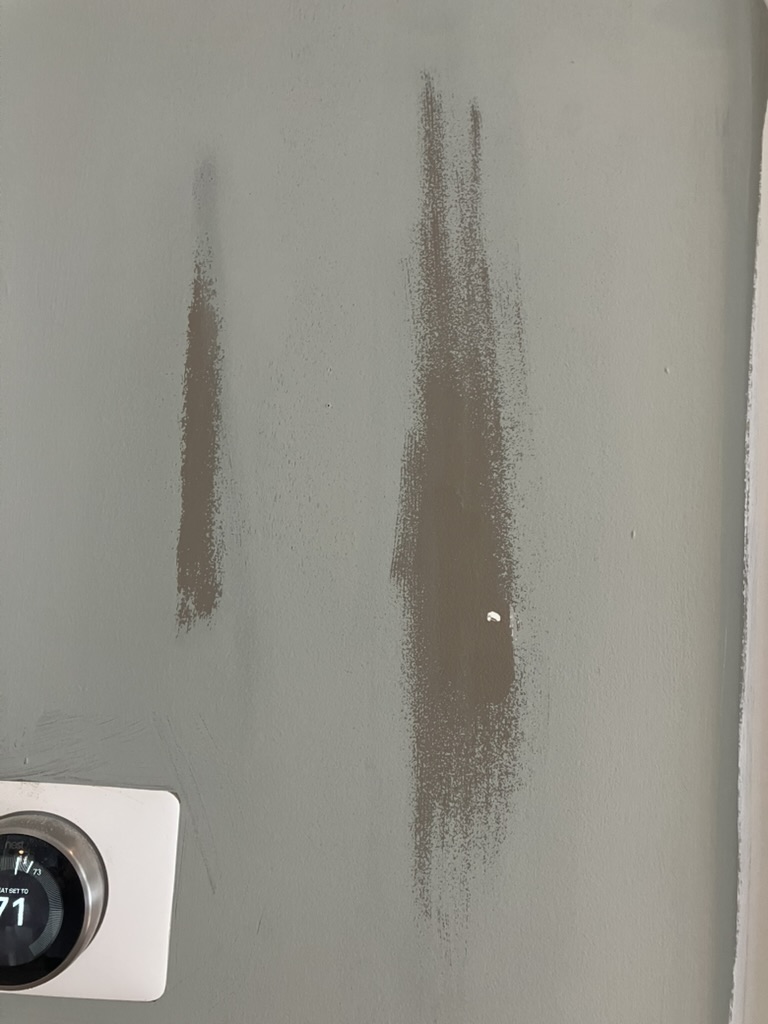
What I’ve seen in the field is PVA primer applied over semi-gloss paint, over old wallpaper paste, over surfaces it was never designed to stick to. The result is always the same — it doesn’t bond. It just sits on top. I can take a damp microfiber rag and wipe PVA right off those surfaces. It comes off like it was never there.
Now imagine hanging wallpaper on top of that. The paste has nothing to grab onto. The paper starts sliding, bubbling, and eventually peeling off. And now you’re paying to strip it all and start over.
The Oil Change Analogy
Think of it like getting an oil change. You don’t just accept “we put oil in it.” You want to know: 5W-20, Castrol synthetic. Same with your walls. What primer? What brand? What product, specifically? If the person prepping your walls can’t answer that, that tells you everything.
Step 4: Choosing the Right Wallpaper
Now for the fun part. But before you fall in love with a pattern, understand what you’re buying.
Non-Woven Is the Way to Go
For most residential jobs, you want non-woven wallpaper — a blend of natural and synthetic fibers that’s breathable, dimensionally stable, and strips off cleanly in full sheets when it’s time to remove it.
It comes in two main finishes: vinyl-coated (more durable, wipe-clean, great for kitchens and bathrooms) and paper-coated (softer feel, great for bedrooms and living spaces). Pre-pasted paper has dried adhesive on the back that activates with water — perfectly fine for most applications.
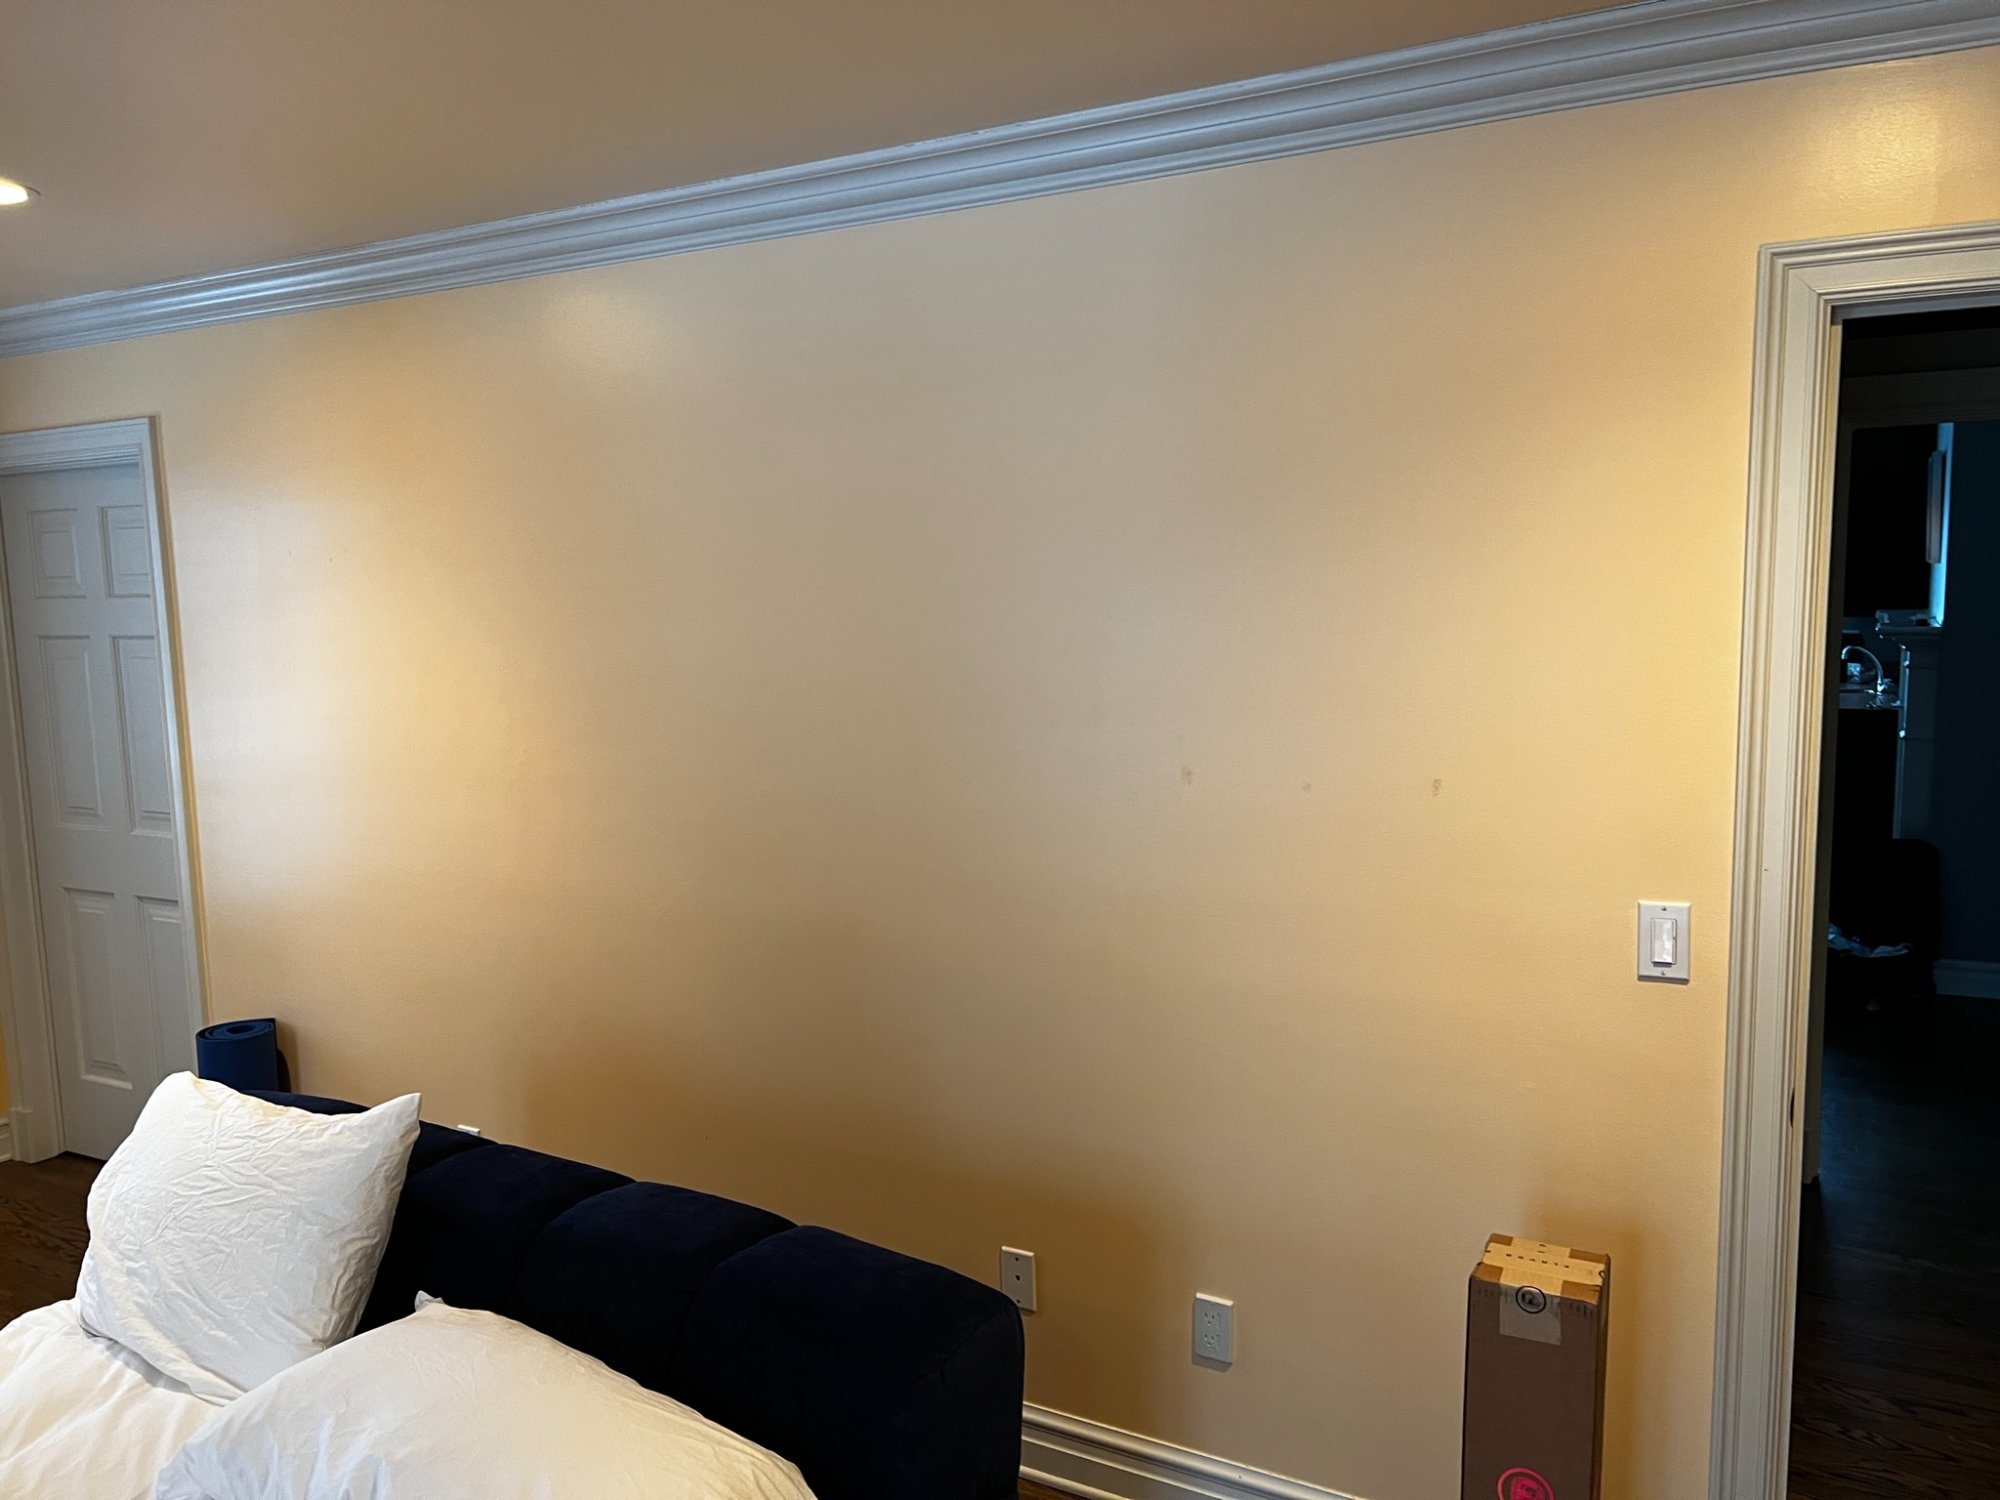
Stay Away From Peel-and-Stick
Peel-and-stick has its place — dorm rooms, rental apartments, temporary accent walls. But if you’re investing in a renovation, traditional wallpaper is always the better choice. Don’t take my word for it:
Brand new home. Primed walls. Didn’t matter. The peel-and-stick pulled away and took the drywall face with it. Now instead of just a wallpaper problem, they’ve got a drywall repair too.
“Barry was wonderful! He is extremely knowledgeable, helpful, and clearly experienced. He was communicative from the start and gave excellent advice. I wish I had listened to him initially about peel and stick paper as we had to change it out half way through the room. He papered 3 bedrooms and 2 bathrooms in our new build and they look absolutely stunning.”
You don’t need to spend a fortune. Traditional paper at a moderate price point will outperform expensive peel-and-stick every time.
Where to Shop
Companies I recommend to clients:
- York Wallcoverings — one of the oldest and most trusted names. Wide range from traditional to modern.
- Graham & Brown — British company, beautiful contemporary designs, excellent non-woven papers.
- Boråstapeter — Scandinavian design, clean lines, sophisticated patterns.
- Rifle Paper Co. — gorgeous florals and botanicals. Hugely popular right now.
- Photowall — great for large-scale murals and statement walls.
Don’t overlook Home Depot. They carry quality wallpaper with a 90-day return policy — you can return it right to the store. Colors look different on screen than on the wall, and that return window gives you peace of mind.
If you find something you like, send the link to your wallpaper installer before you buy. A good installer can tell you whether the material works for your space and whether you’re ordering enough.
Pro tip: pick your wallcovering before getting a measurement and a price from a highly reputable installer. The paper you choose affects everything — the prep required, the adhesive, the difficulty of the install, and the final cost. An installer can’t give you an accurate quote until they know what they’re hanging.
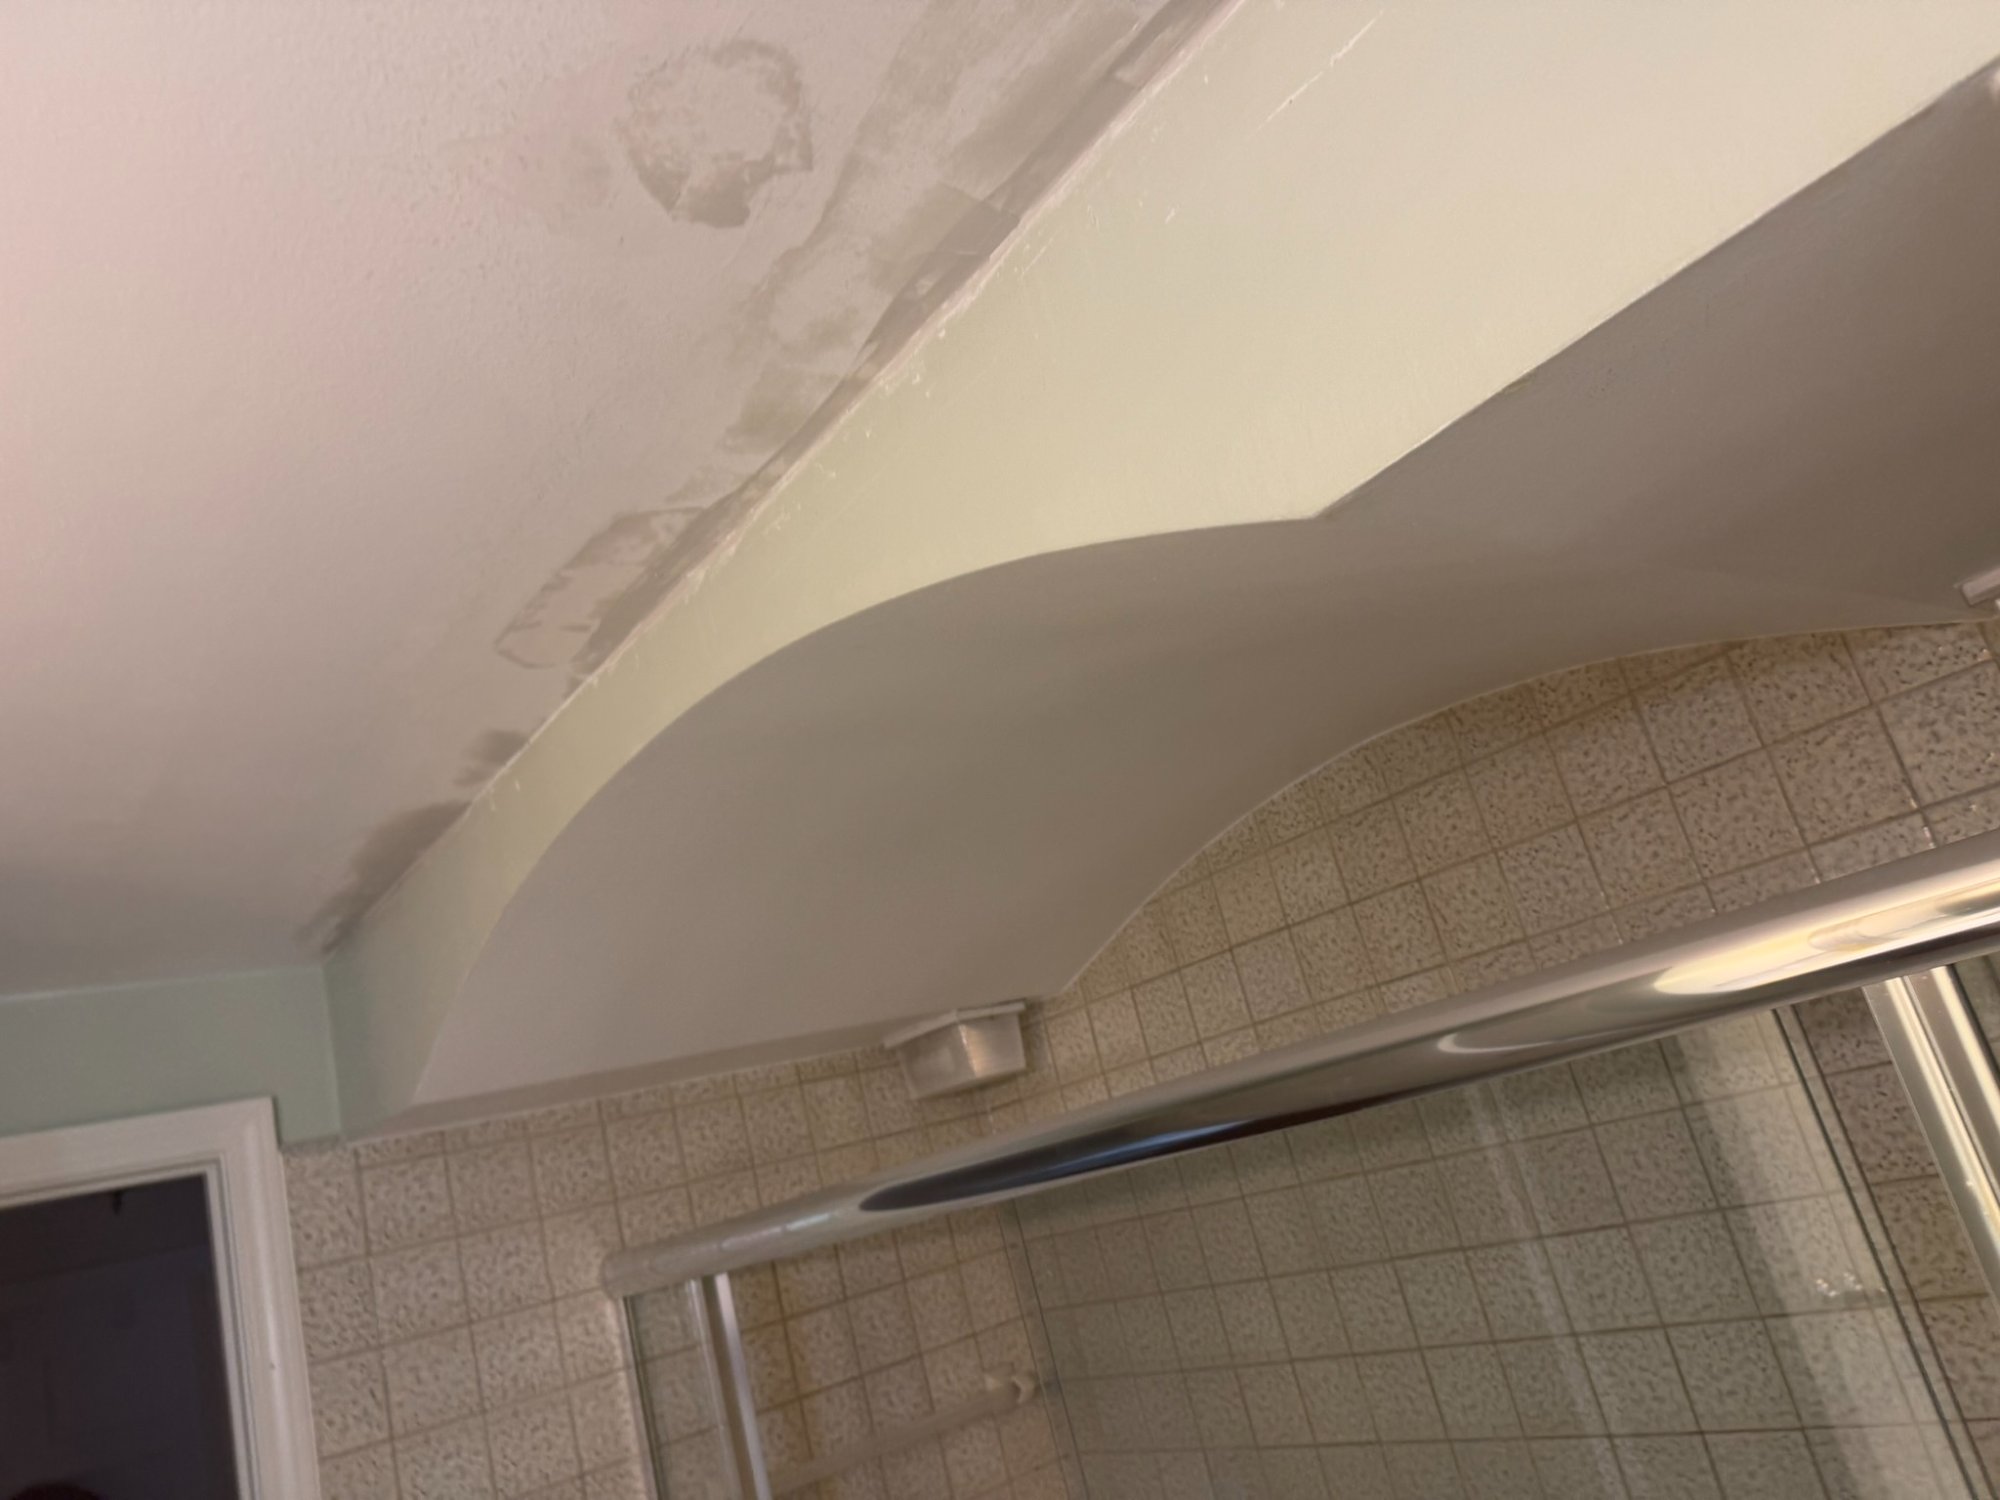
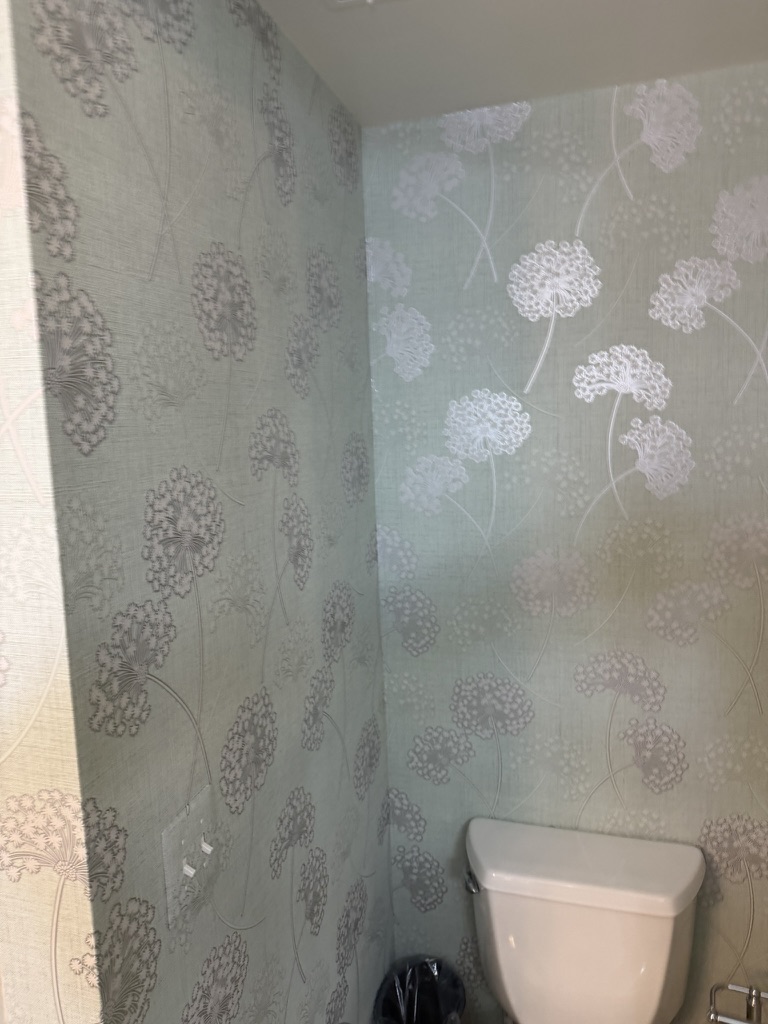
Bathrooms and Kitchens
A lot of people think you can’t put wallpaper in a bathroom. You absolutely can — you just need the right material. Vinyl-coated, non-woven wallpaper is moisture-resistant, wipe-clean, and won’t trap humidity behind it. In bathrooms, proper ventilation matters just as much as material choice.

Step 5: Do the Wallpaper Prep Yourself — Save Money and Get Better Results
Here’s what most homeowners don’t realize: you can save a significant amount of money by handling the wallpaper prep yourself. And honestly, you’ll probably get better results than hiring someone else to do it.
I know that sounds counterintuitive. But here’s the reality — when you hire a painter or contractor to “prep the walls for wallpaper,” you’re trusting that they’ll use the right products, follow the right steps, and care as much about the outcome as you do. That doesn’t always happen. Wrong primer, missed spots, rough surfaces, dust still on the walls. You’re paying for quality prep but not always getting it.
When you do it yourself — following the steps in this guide — you control every detail. You choose the primer. You wipe the dust. You inspect every square inch. And because it’s your home, you care more than anyone else will.
Then you bring in an experienced wallpaper installer to do what they do best — hang the paper. You get the best of both worlds: walls you know are right, and a professional finish on top.
Your Wallpaper Prep Checklist — Before You Call a Wallpaper Installer
Walls are smooth, dry, and free of damage
Torn or damaged drywall is sealed with GARDZ first
All repairs are mudded, sanded, and smooth
Sanding dust has been wiped off with a damp rag
A high-adhesion acrylic/latex primer has been applied (not PVA)
Primer is tinted to match the wallpaper’s background color
You’ve selected non-woven, traditional wallpaper (not peel-and-stick)
Your installer has reviewed the wallpaper product before you purchase
You’ve ordered enough — plus extra for dye lot safety
The Details That Separate Good From Great
Anyone can hang a straight strip on a flat wall. It’s how an installer handles the obstacles that defines their work.
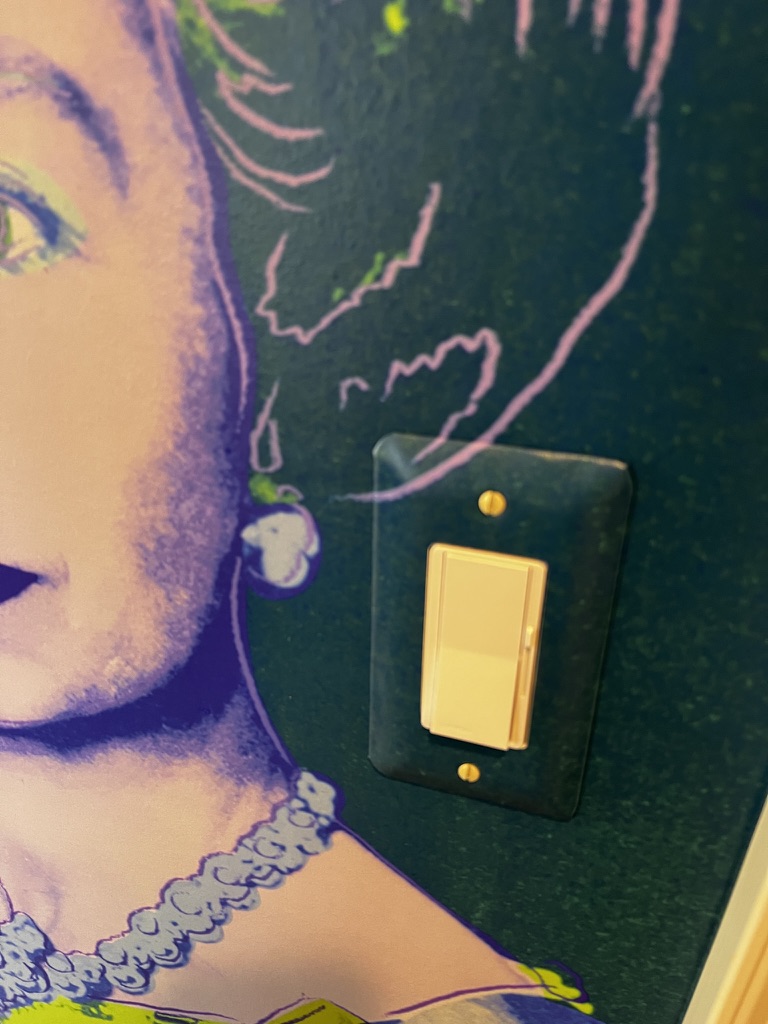
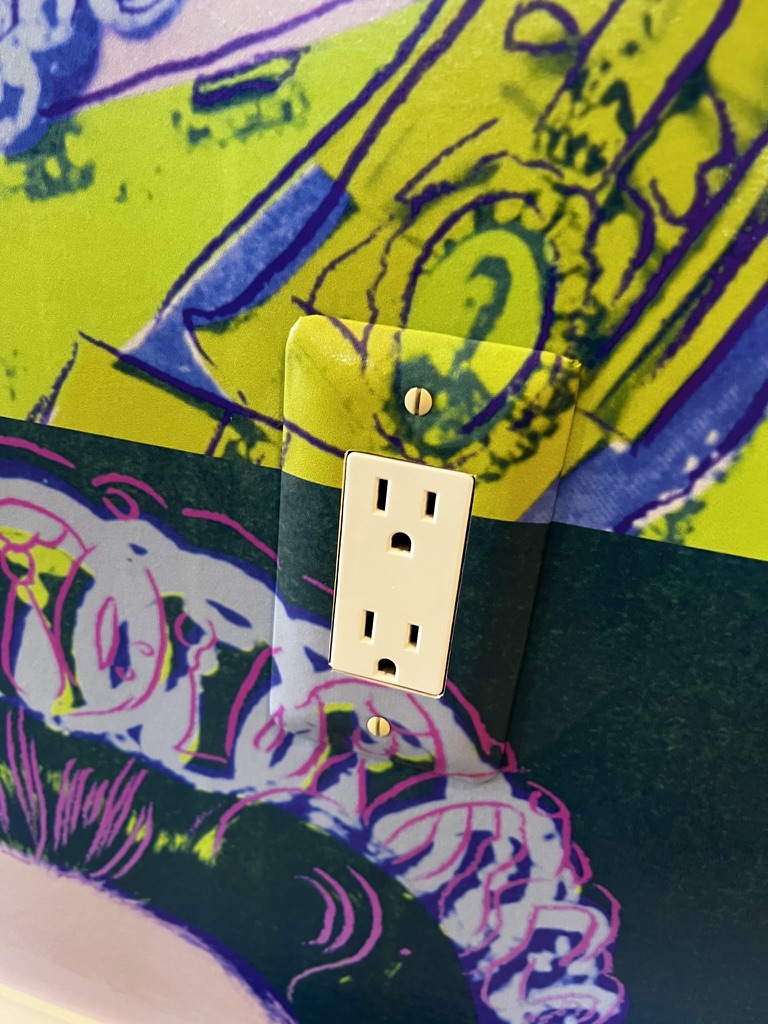

Cold air returns, heat vents, outlet covers, switch plates, window casings, crown molding — every edge, every transition. A skilled wallpaper installer wraps wallpaper neatly around every obstacle and cuts precisely so the pattern maintains continuity. Seam visibility depends on the nature of the wallpaper itself — material, texture, pattern — but proper wallpaper prep and an experienced wallpaper installer will always give you the best possible result.
Frequently Asked Questions About Wallpaper Prep
The Bottom Line
Wallpaper prep is everything. Wallpaper is one of the most transformative things you can do to a room. But like any craft, the magic is in the preparation.
Start from the bottom up. Get the walls right. Use the right primer. Choose quality paper. And find a wallpaper installer who treats every seam, every corner, and every cut like it matters — because it does.
I’ve been installing wallpaper for over 35 years, and the one thing that hasn’t changed is this: proper prep from the start means you never have to worry about it later.
Last updated: March 15, 2026 — by Barry Bernau, Owner of Bernau Designs. Professional Wallpaper Installer, 35+ years experience. Troy, Michigan. 54inch.com

