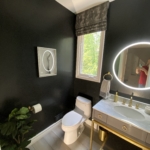
Focal Wall: How to Install Phillip Jeffries Rivets Wallcovering
If you are an interior designer or a professional installer, you know that the right wallpaper can completely transform a space. Phillip Jeffries Rivets wallpaper is a popular choice among homeowners and designers alike, offering a unique textured design through its “variational shading” from panel to panel, which adds a chic look to any room.
But when it comes to installing this type of wallpaper, there are some important things to keep in mind, especially if you want to achieve a symmetrical and professional-looking finish. In this post, we’ll provide you with all the tips and tricks you need to know for installing PJ Rivets wallpaper, from preparing the surface to cutting and hanging the wallpaper. As a seasoned professional in the world of wallpaper installation, you understand the importance of attention to detail and precision to achieve fantastic results. In this guide, we will delve into the nuances of installing Phillip Jeffries Rivets wallpaper and provide valuable insights and techniques to elevate your craft even further. So let’s dive in and discover how to create stunning results that will delight your clients.
*Disclaimer: Please note that while these installation steps have been proven effective in my practice, it’s important to always follow the manufacturer’s instructions for proper installation techniques.
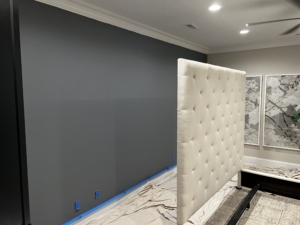
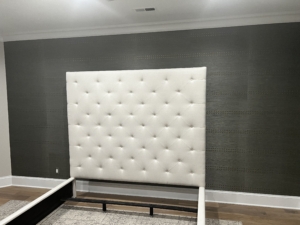
Wall double primed with SW Multi-Purpose Primer
Step One: Apply a Proper Primer
Before you start hanging PJ Rivets wallpaper, it’s important to prepare your walls properly. Start by applying 2 coats of primer that is specifically formulated for the surface you will be covering. For drywall or substrates, we recommend using a multi-purpose primer like Sherwin Williams Multi-Purpose Primer. This primer will effectively seal the surface and ensure that the wallpaper adheres properly. Additionally, it will prevent damage to your walls when it’s time to remove the wallpaper in the future. One of the benefits of this primer is that it can be tinted to match the shade of your wallpaper.
Step Two: Layout the Wallpaper Panels on the Wall
PJ Rivets wallpaper is made of natural hemp weave and each sheet is a unique panel, adding to the beauty of the final look. To achieve a symmetrical and balanced design, it’s important to carefully plan where each sheet will go on the wall. Start by measuring the height and width of the wall to determine how many sheets you will need. Once you know the number of sheets, find the center of the wall horizontally and mark it lightly with a pencil. For example, if you need 5 sheets to cover your wall, the middle of sheet number 3 should be centered on the wall.
Step Three: Inspect the Wallpaper Panels
Before you begin installing the Rivets wallpaper, it’s important to inspect each wallpaper panel carefully for any defects or damages. Roll out the wallpaper on a clean flat surface and examine it closely for any noticeable defects such as tears, stains, or inconsistencies. If you notice any issues, do not cut the wallpaper sheets and contact the manufacturer for further instructions.
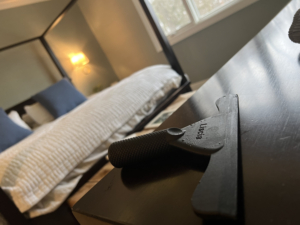
Liscia_wallpaper_smoothing_tool
Step Four: Cut our Wallpaper Sheets
Installing Phillip Jeffries Rivets wallpaper requires careful attention to detail to ensure a beautiful finished product. To achieve a symmetrical look, it’s important to ensure that the horizontal rivets are equidistant from the crown molding and the baseboard. Take measurements from the ceiling and the floor to determine where the top and bottom of each wallpaper sheet should be placed, and mark these measurements clearly on the wall before installing the wallpaper.
To achieve the desired pattern and symmetry, the wallpaper sheets should be installed in a sequential order, with each sheet reversed to one another. Make sure to follow the manufacturer’s instructions for proper installation techniques. Keep in mind that every other sheet will need to be flipped to maintain symmetry from top to bottom, so make sure to have extra length to accommodate.
Step Six: Number Your Wallpaper Sheets
Number the back of each wallpaper sheet with a light pencil from 1 to 5 to keep track of their sequential order during installation
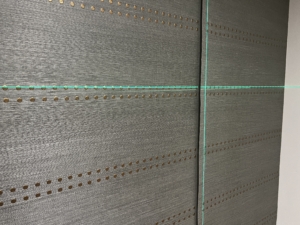
Overlap- ready for a double cut seam
Step Seven: Install the First Wallpaper Sheet
With all the necessary preparations complete, it’s time to start installing the Rivets wallpaper. Begin with sheet number 3, which should be centered on the wall according to the measurements taken in Step 2.
To install the first sheet, use a laser level to mark a perfect perpendicular line on the wall where sheet number 3 will be placed. Next, paste the wall with a pro-clear adhesive medium thin and let it set up for 5 minutes. While waiting, lightly dampen the back of sheet number 3 with water and fold it, being careful not to crease the wallpaper by rolling the sheet over itself while folded. This technique will help prevent creases and ensure a smooth and even application on the wall.
Once the adhesive has set up, it’s time to hang the first sheet. Center sheet number 3 on the wall with the laser line right down the middle of the sheet, ensuring that the horizontal rivets are equally distant from the crown molding and the baseboard. Use the Liscia wallpaper smoothing tool to remove any air bubbles and ensure a smooth and even surface.
After sheet number 3 is installed, continue with the remaining sheets in numerical order, following the same installation process, reversing each sheet to one another as necessary to maintain symmetry. Use a sharp razor knife to trim the wallpaper at the ceiling, floor, and corners, taking care to avoid damaging the wallpaper or the wall during trimming.
Depending on personal preference, the installer may choose to double cut with a straight edge on the wall or trim an edge on the table for a butted seam.
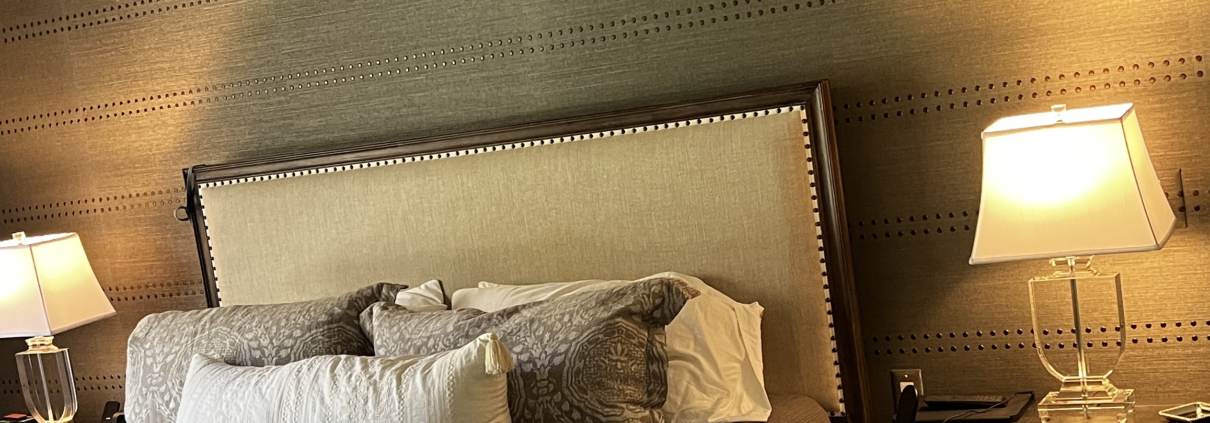
Phillip_Jeffries_Rivets_Hemp_wallpaper
With patience, attention to detail, and these simple steps, you can achieve stunning results that will transform any space into a work of art. If you’re interested in having a Phillip Jefferies Rivets wallcovering installed in your space, please contact me at 248-924-8944.
by Barry Bernau

 Bernau Designs 2022