
Why Use a Wallpaper Primer?
Wallpaper can transform a room, giving it character, texture, and color. However, the key to a flawless wallpaper installation isn’t just in the pattern you choose but also in the preparation of your walls. One of the most crucial steps in this preparation is the application of wallpaper primer. Let’s dive into why this step should not be overlooked.
The Role of Primer
Wallpaper primer, often an unsung hero in the world of wall décor, plays several vital roles:
- Adhesion: Primer forms a sticky, even base for the wallpaper glue. This ensures that the wallpaper sticks properly and stays in place for years to come.
- Ease of Removal: If you ever decide to change your wallpaper, a primed surface makes removal much easier. It prevents the wallpaper glue from seeping into the wallboard or plaster, which can cause damage.
- Color Consistency: Especially important for thinner or lighter wallpapers, a primer prevents the wall’s original color from bleeding through or creating color inconsistencies in your wallpaper.
- Surface Perfection: Primers can also help smooth out minor imperfections in the wall, creating a more uniform surface for the wallpaper.
Choosing the Right Primer
Not all primers are created equal, and the choice largely depends on your specific situation:

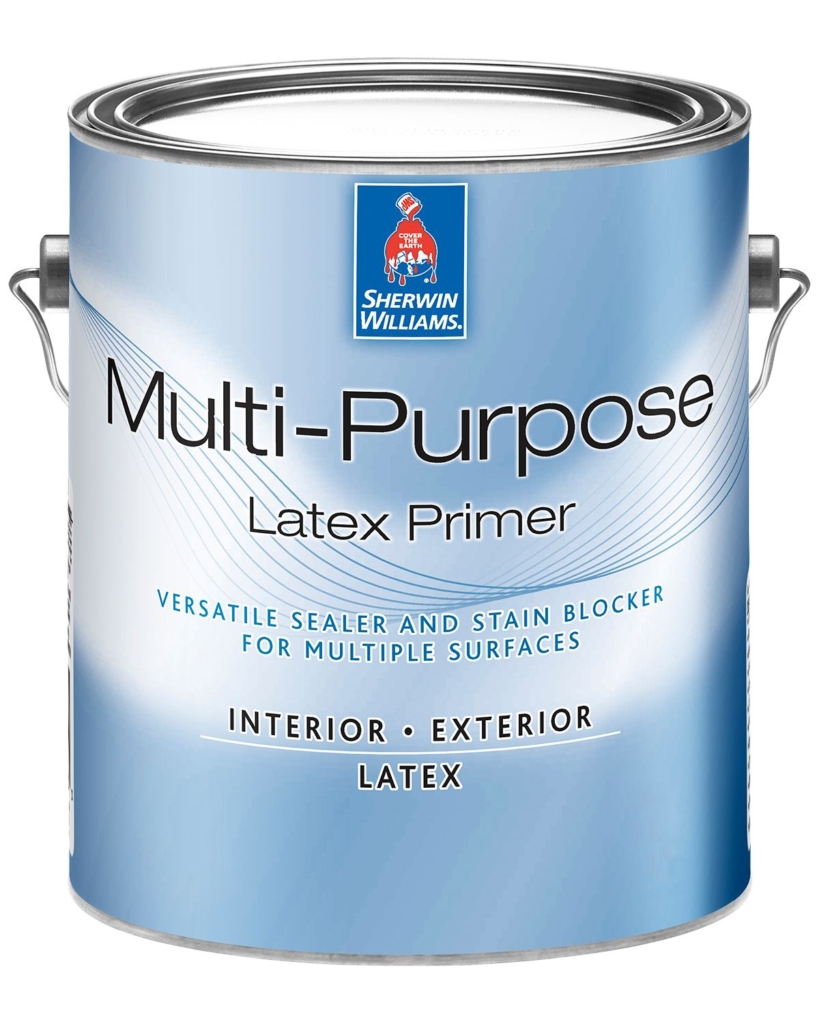
- SW-Multi-Purpose Primer: For wallpapers with a dark background, a tinted primer can be colored to match. This is an excellent precautionary measure in case of any splits or gaps that might appear due to seasonal changes.
- Shieldz Clear: In scenarios where your wall color is already similar to your wallpaper, a clear primer like Shieldz Clear is ideal. It enhances adhesion without altering the existing color.

Application Tips
Proper application of primer is just as important as choosing the right type. Here are some tips to ensure the best results:
- Surface Preparation: Clean your walls thoroughly. Any dust, dirt, or grease can prevent the primer from adhering properly.
- Apply Evenly: Use a roller for a consistent application. Ensure that every part of the wall where the wallpaper will go is covered.
- Drying Time: Allow the primer to dry completely before starting the wallpaper installation. Check the manufacturer’s instructions for specific drying times.
- Inspect for Issues: Once the primer is dry, inspect the walls for any issues. Bubbling or peeling of the primer can indicate underlying problems with the wall that need addressing.
Conclusion
Investing time in priming your walls can make a significant difference in the outcome of your wallpaper project. It ensures not just an aesthetically pleasing result but also a long-lasting one. Whether you’re a DIY enthusiast or a professional, remember that great wallpapering starts with great priming. Always check with the manufacturer on the primer they recommend for their wallpaper.

